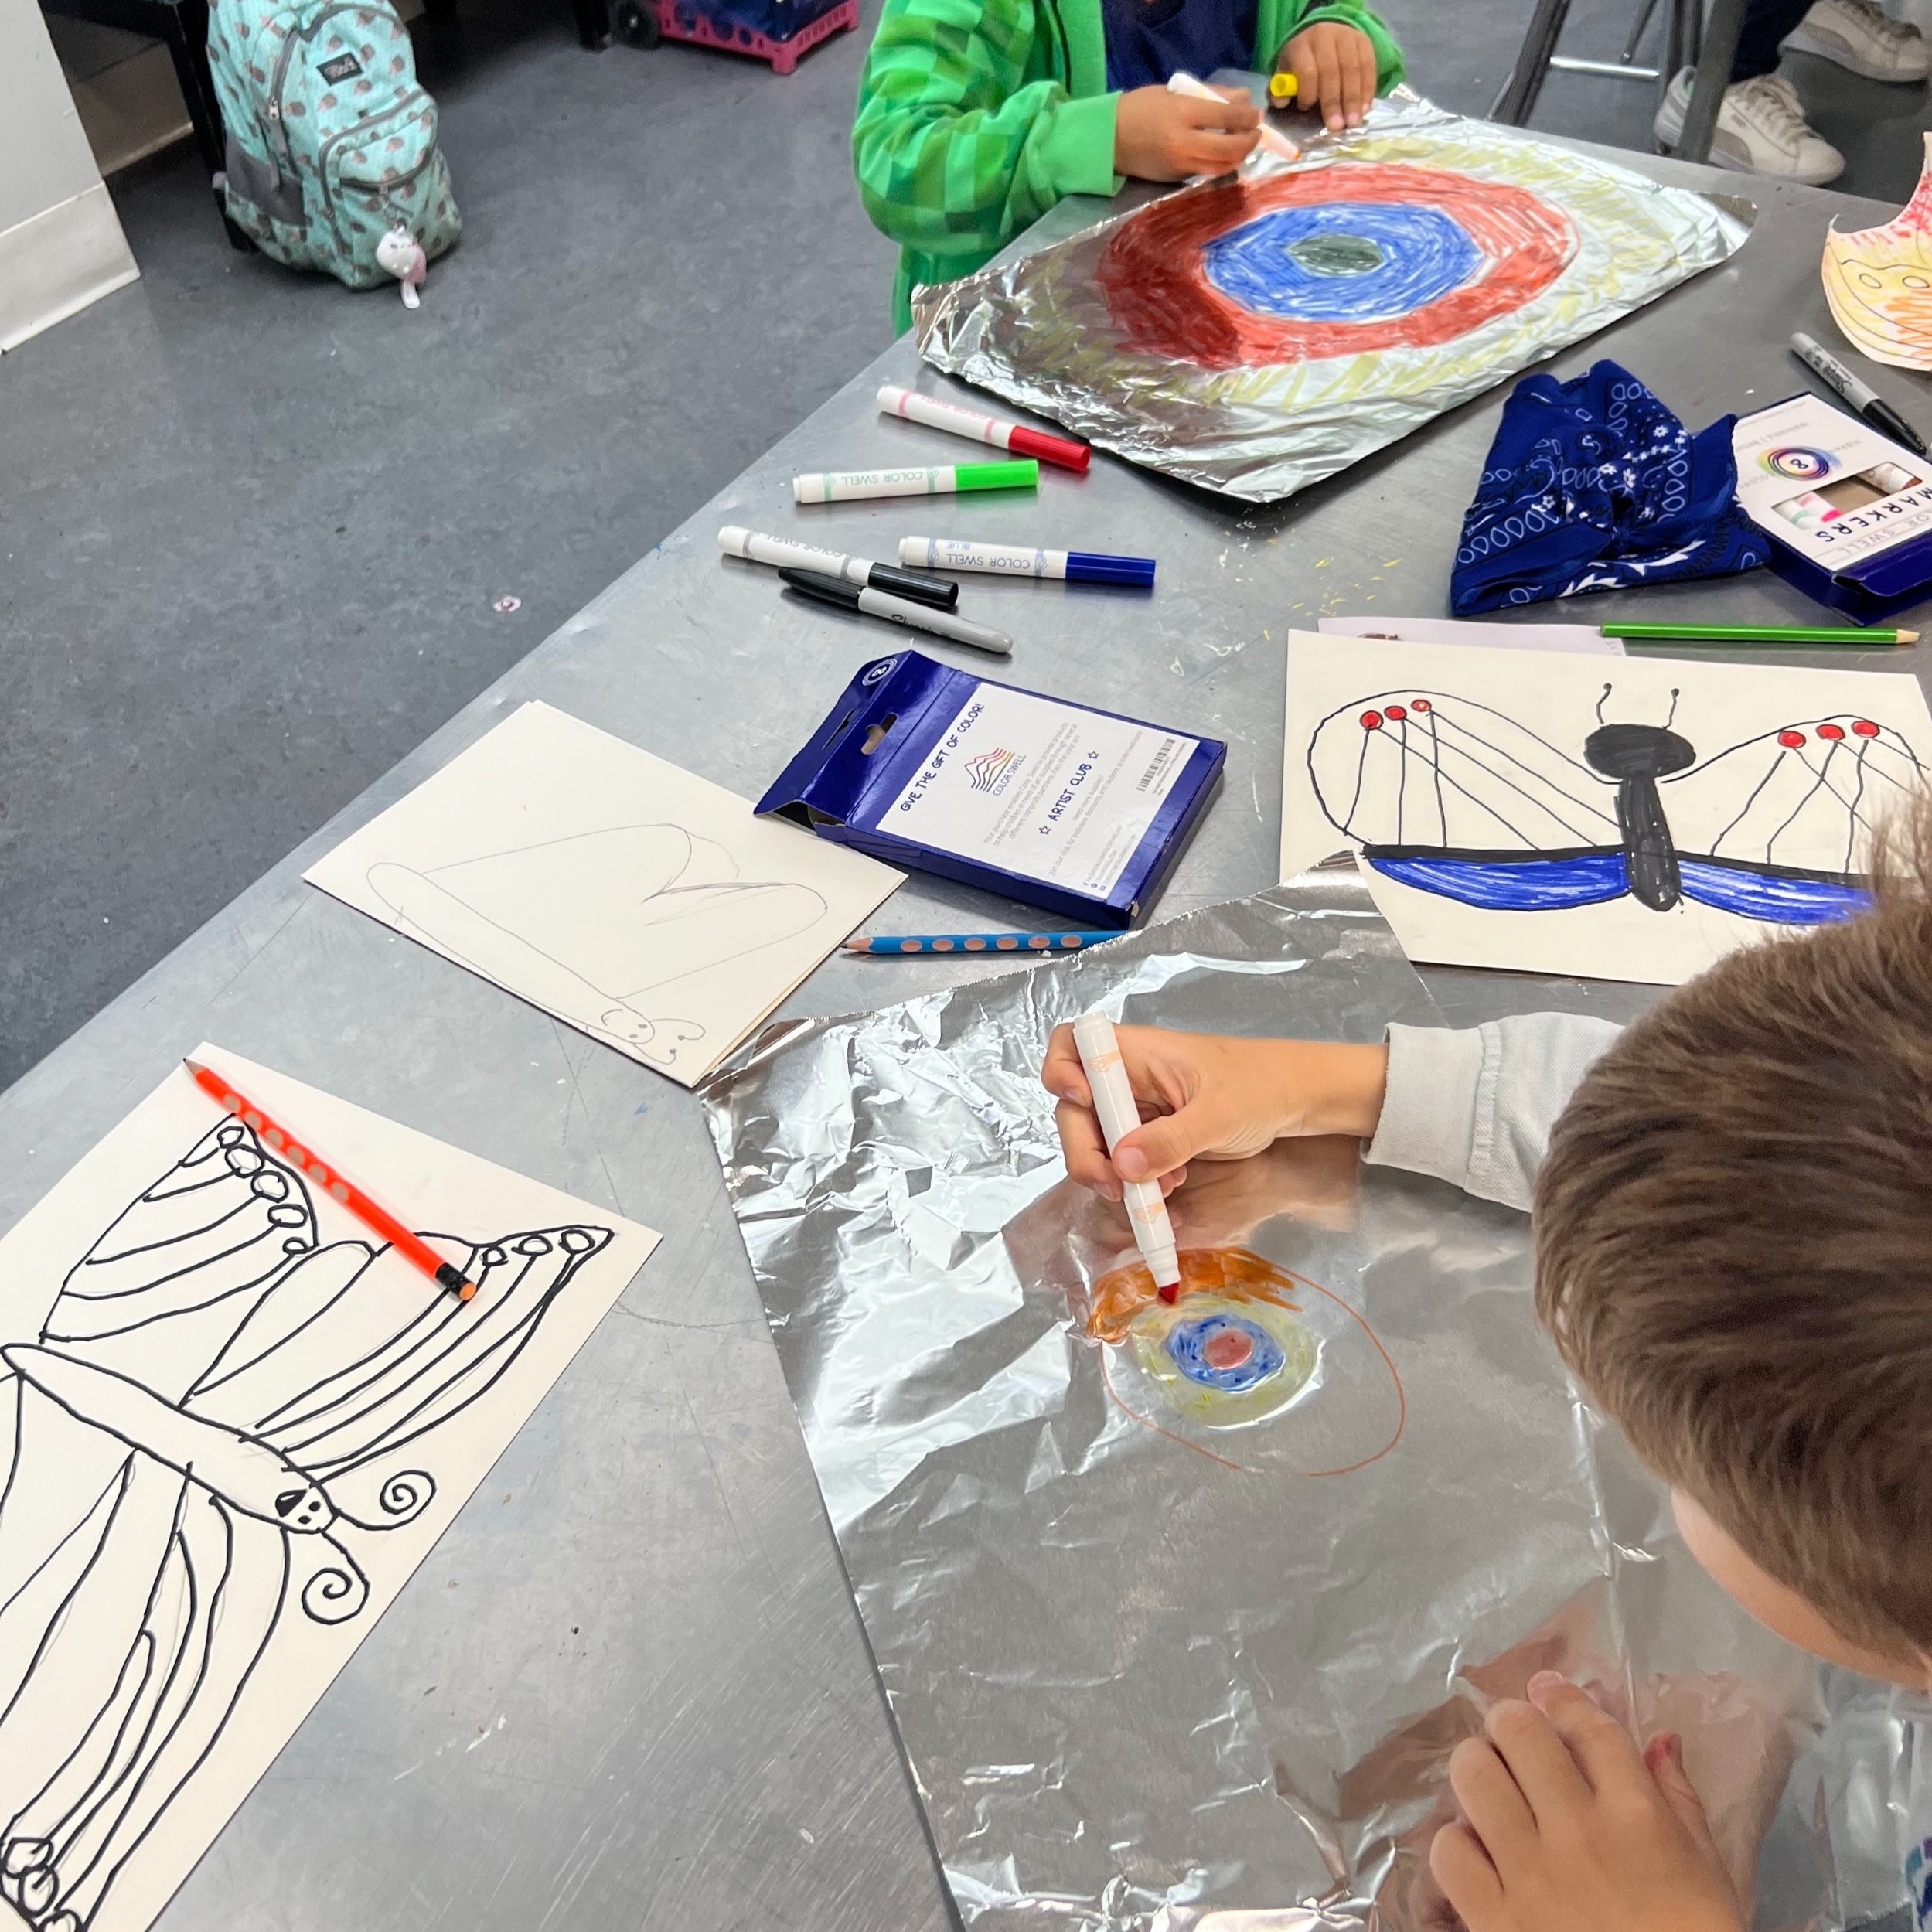
We adjusted one of our favorite springtime art activities to incorporate an easy, fun art technique for kids to explore – aluminum foil marker printmaking! This process can also be used to introduce conversations on metamorphosis, change, and what we can and cannot control. The aluminum foil marker printing technique also helps us immediately practice and embrace this process of change!
At minimum, you will need a piece of paper, pencil, permanent marker (Sharpie recommended), washable colored markers, a sheet of aluminum foil, and a spray bottle! Ideally, the spray bottle needs to be able to mist water. You can recycle old cleaning supply spray bottles that have been thoroughly cleaned and rinsed. We have also found that travel-sized spray bottles, which can be purchased at CVS or Dollar Tree, work well.
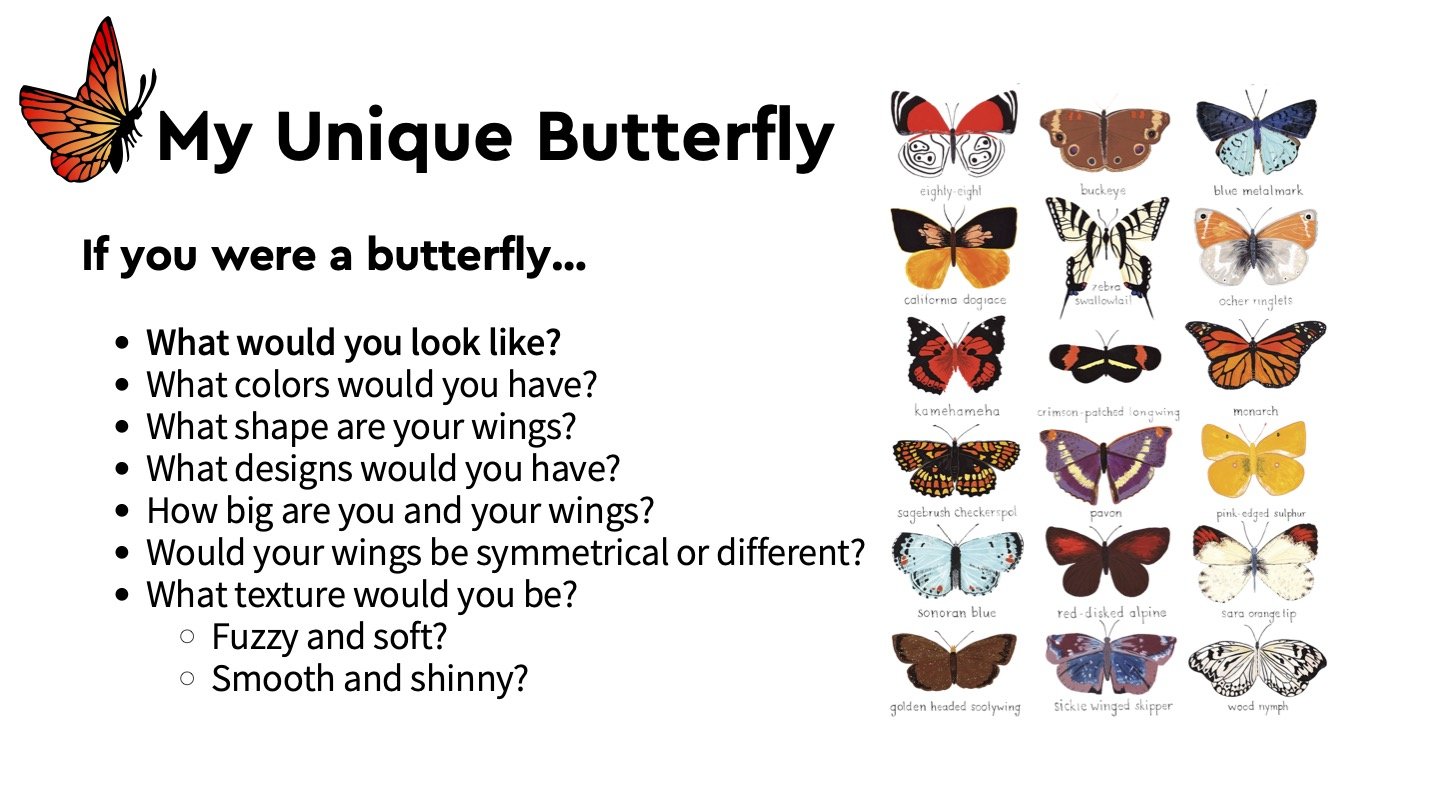
If you’re trying this with a group, allocate 10-15 minutes for the introductions, warm-up, and art activity discussion. The specific recommended warm-up activity will depend on the age of the children, their needs, etc. as well as how often you’ve engaged with them. However, if it makes sense, you can try a quick feelings check-in with your participants. Ask your artists to take a moment to check-in with themselves: “How are you feeling? If you were a butterfly right now, what colors would you be?” (Hint: they can use the color(s) later in their art!).
In-Person Option: Go around your group and ask each participant to share their butterfly color(s) for how they are feeling today. Let them know that they can always “pass” and share later. You could pass a ball, stuffed animal, talking stick, etc. or simply sit in a circle and share clockwise.
Zoom Alternative: If not everyone can share their screen or use the microphone, you could have each participant edit their Zoom name to include their first name, color(s).
Both: You can also present an image or chart of various colorful butterflies and ask the artists to pick a butterfly (or butterflies) for how they’re feeling, by sharing verbally or pointing to the images.
If you’re trying this activity for yourself, check in with yourself too!
After your initial introductions and warm-up, you can transition into a conversation about butterflies, including some fun facts. For instance, did you know that “no two of the world's more than 12,000 butterfly species look quite alike” (source)? Then, you can move onto their various symbolic meanings. If you’re working with your kids or a class, open up the group for brainstorming and discussion. Ask the participants,“Do butterflies mean or represent anything special to you?” Try writing down all the thoughts on a physical or digital board for all to see. For our group, we brainstormed and shared different meanings and then focused on the process of metamorphosis and change. We walked through the stages of metamorphosis for a butterfly: Eggs > Caterpillar > Chrysalis > Butterfly. With certain groups, after explaining the process, we collectively try a movement activity where the participants mimic the facilitator growing from an egg through the metamorphosis stages and into a big, beautiful butterfly.
We also introduced some inspiring quotes on change, including one by Maya Angelou, to emphasize that while change is constant and scary, it also can lead to unexpectedly beautiful outcomes. So we must embrace the change and the journey because we never know where it will take us. It might turn us into a beautiful butterfly!
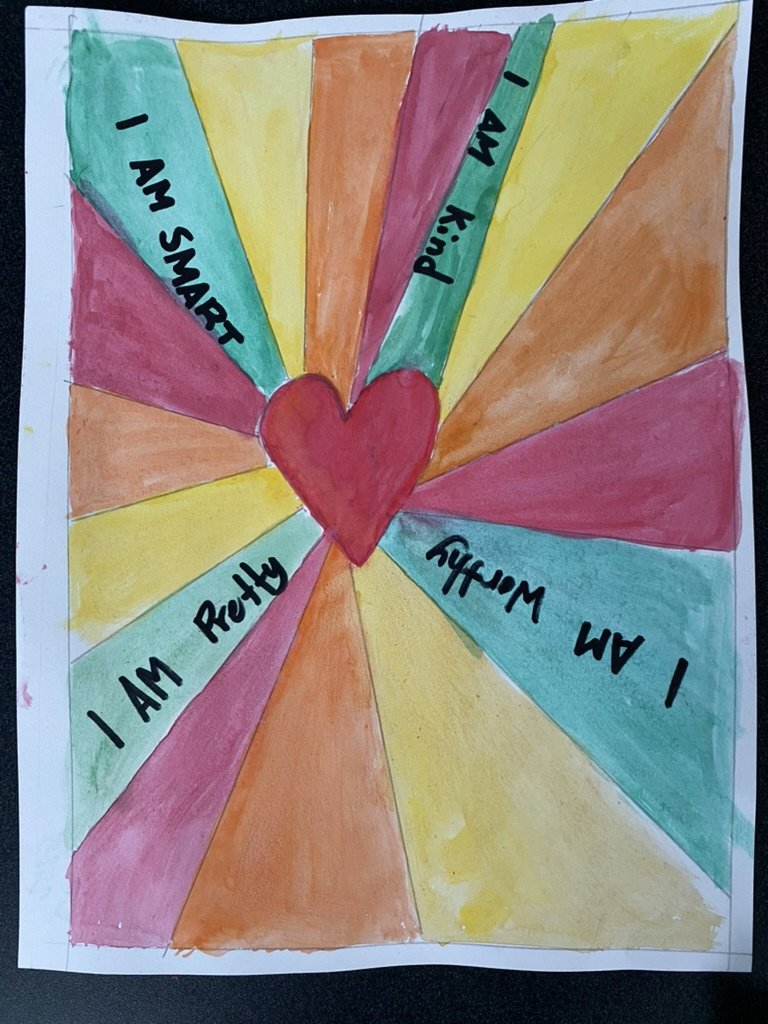
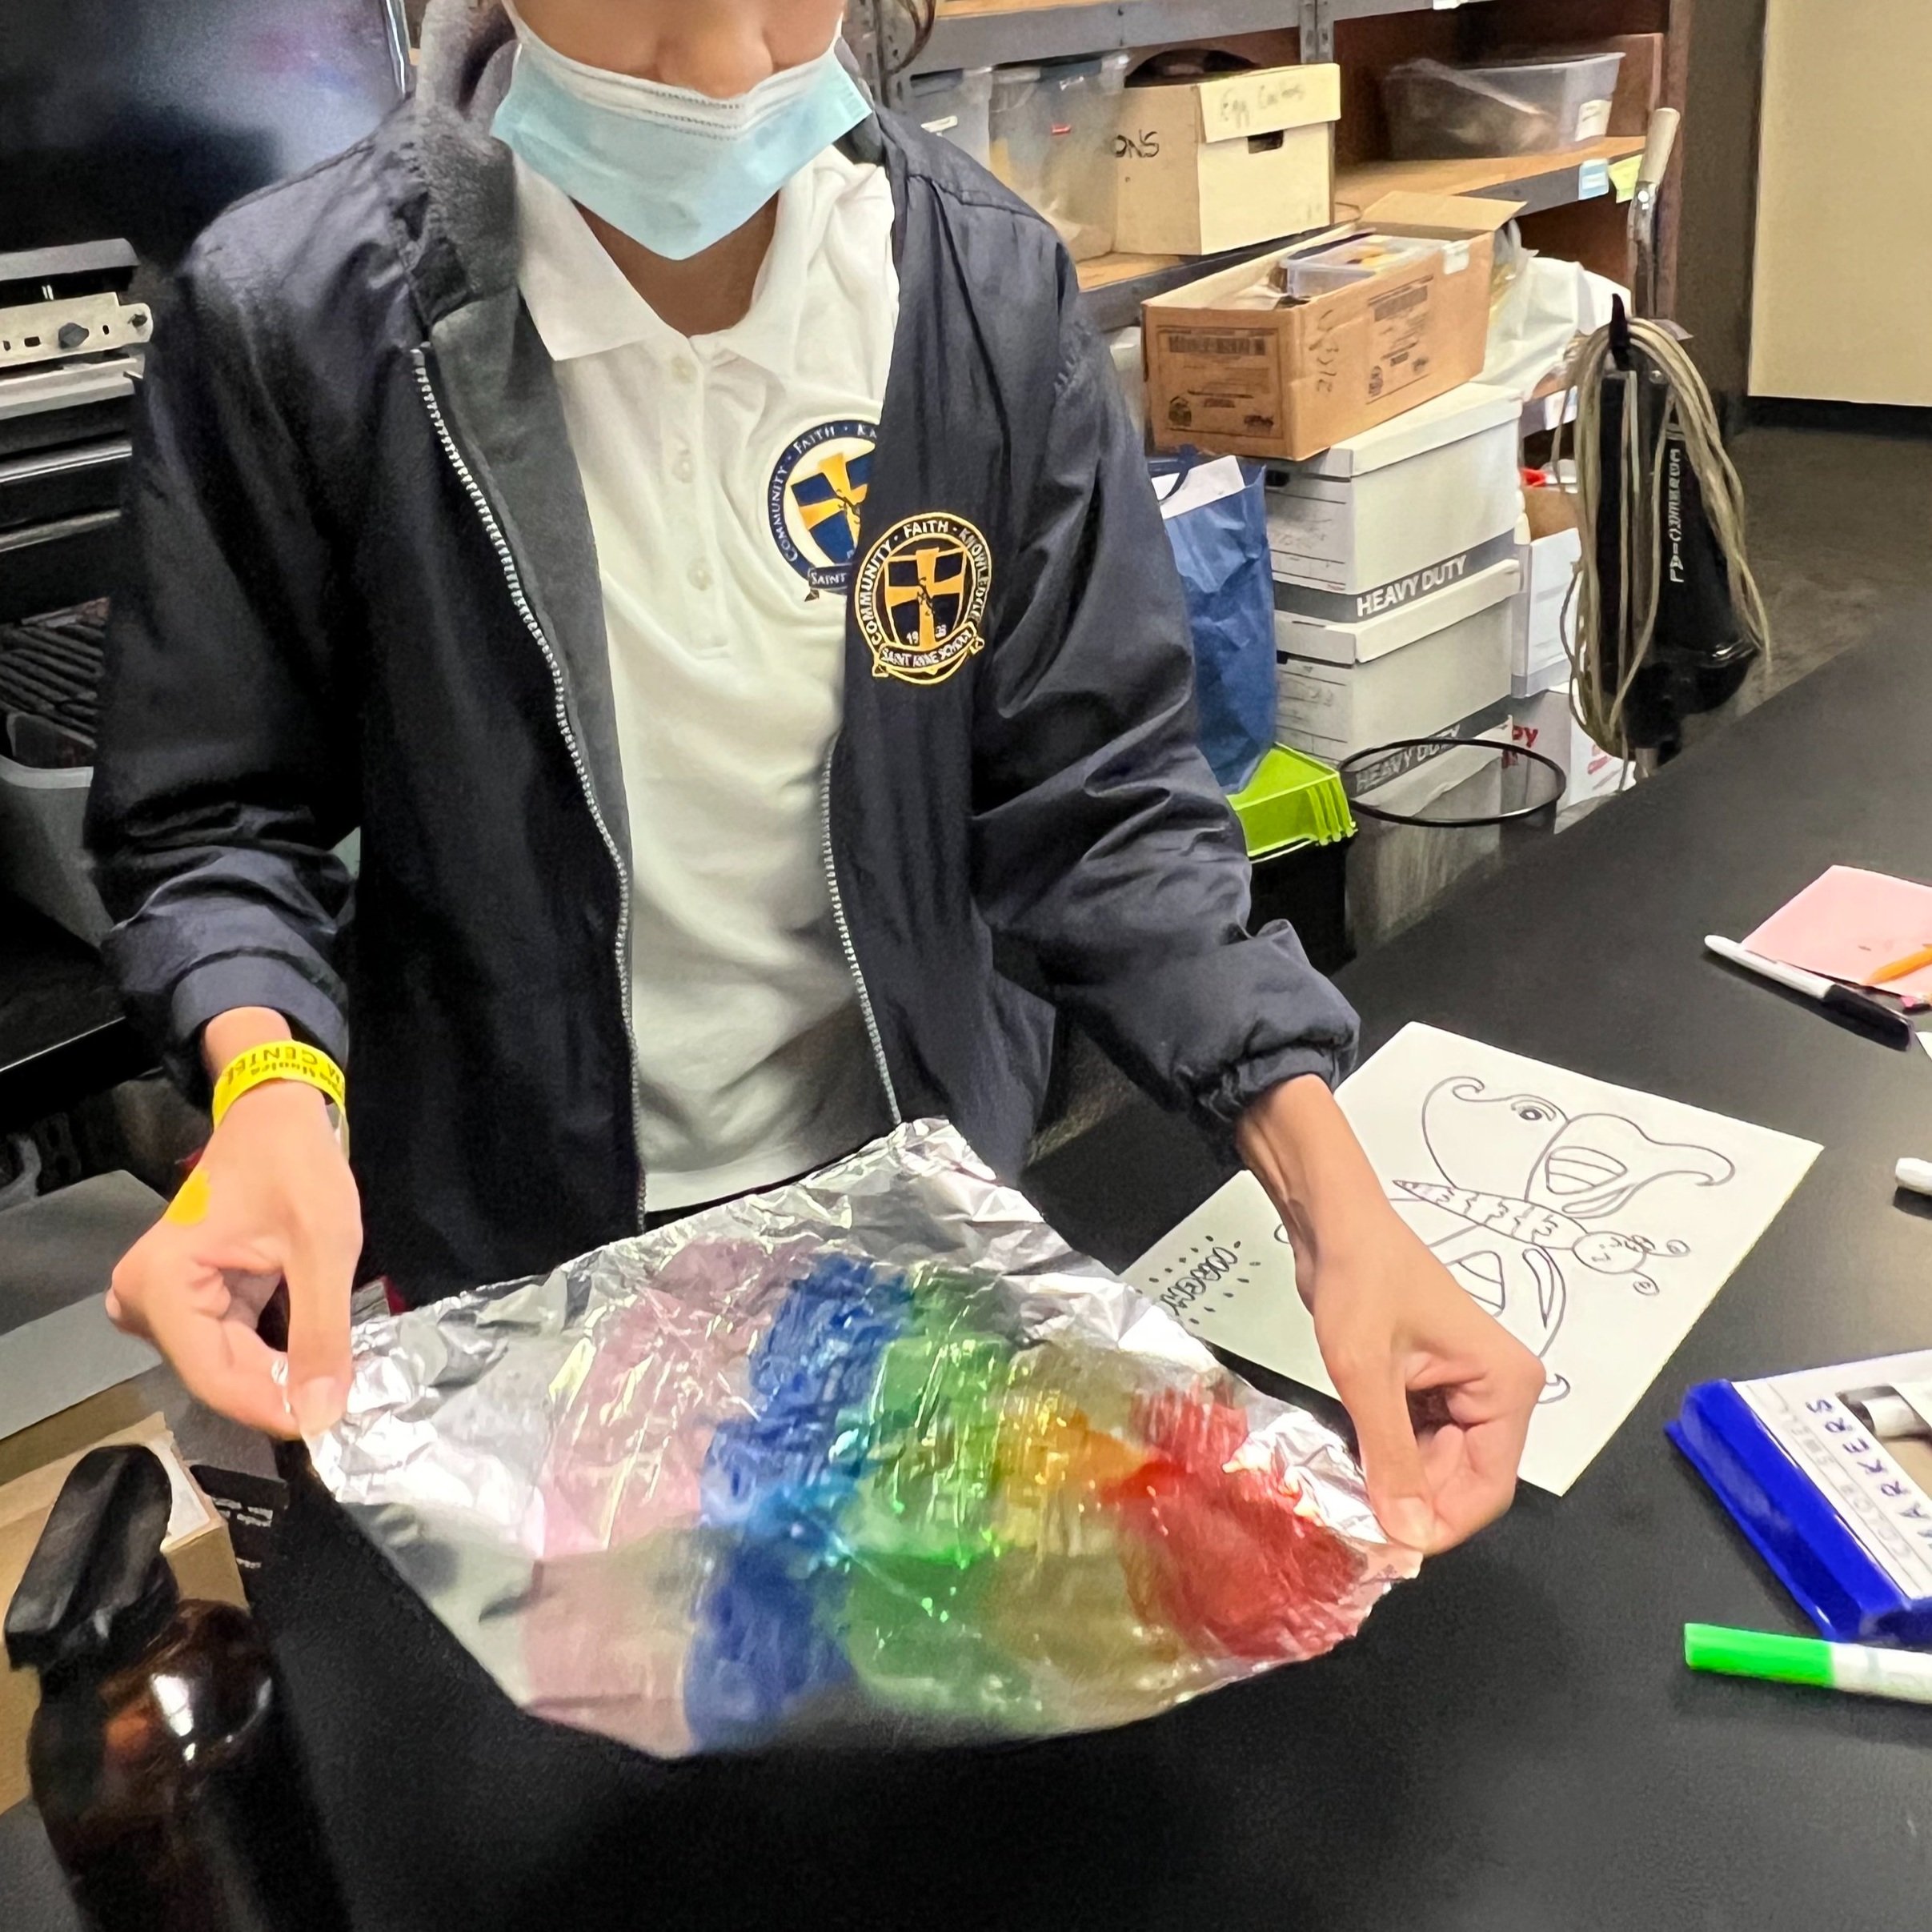
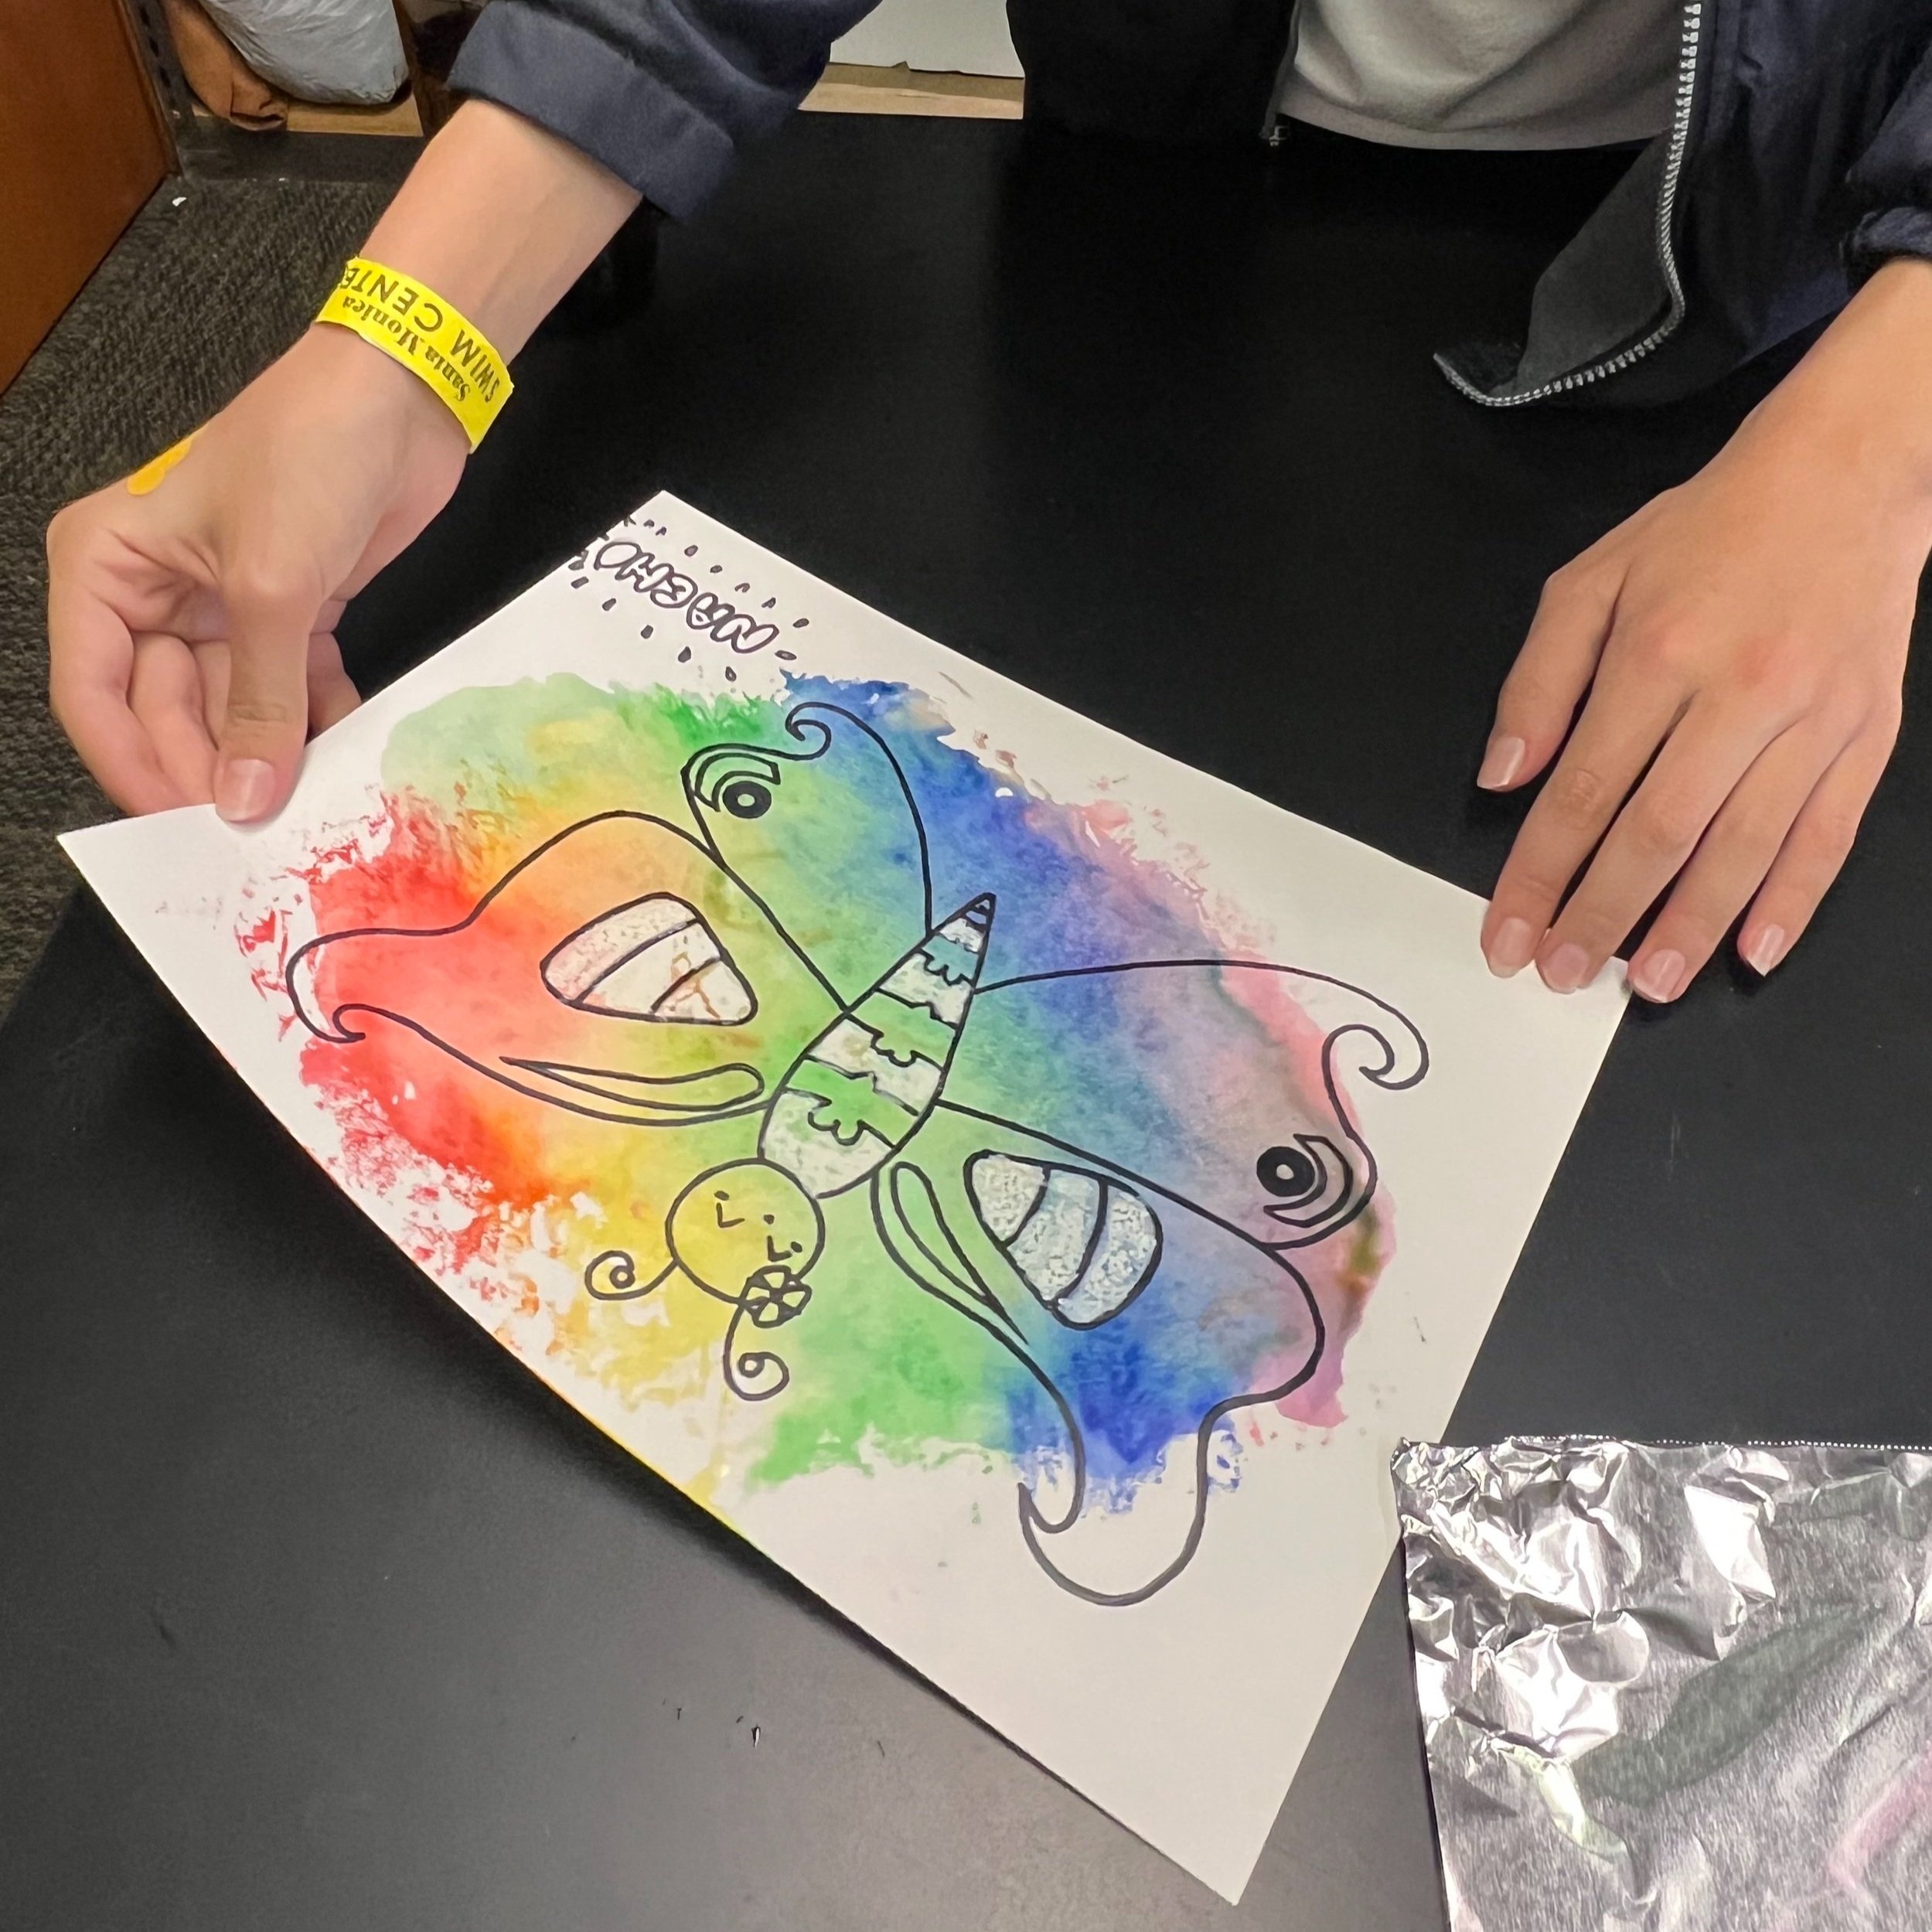
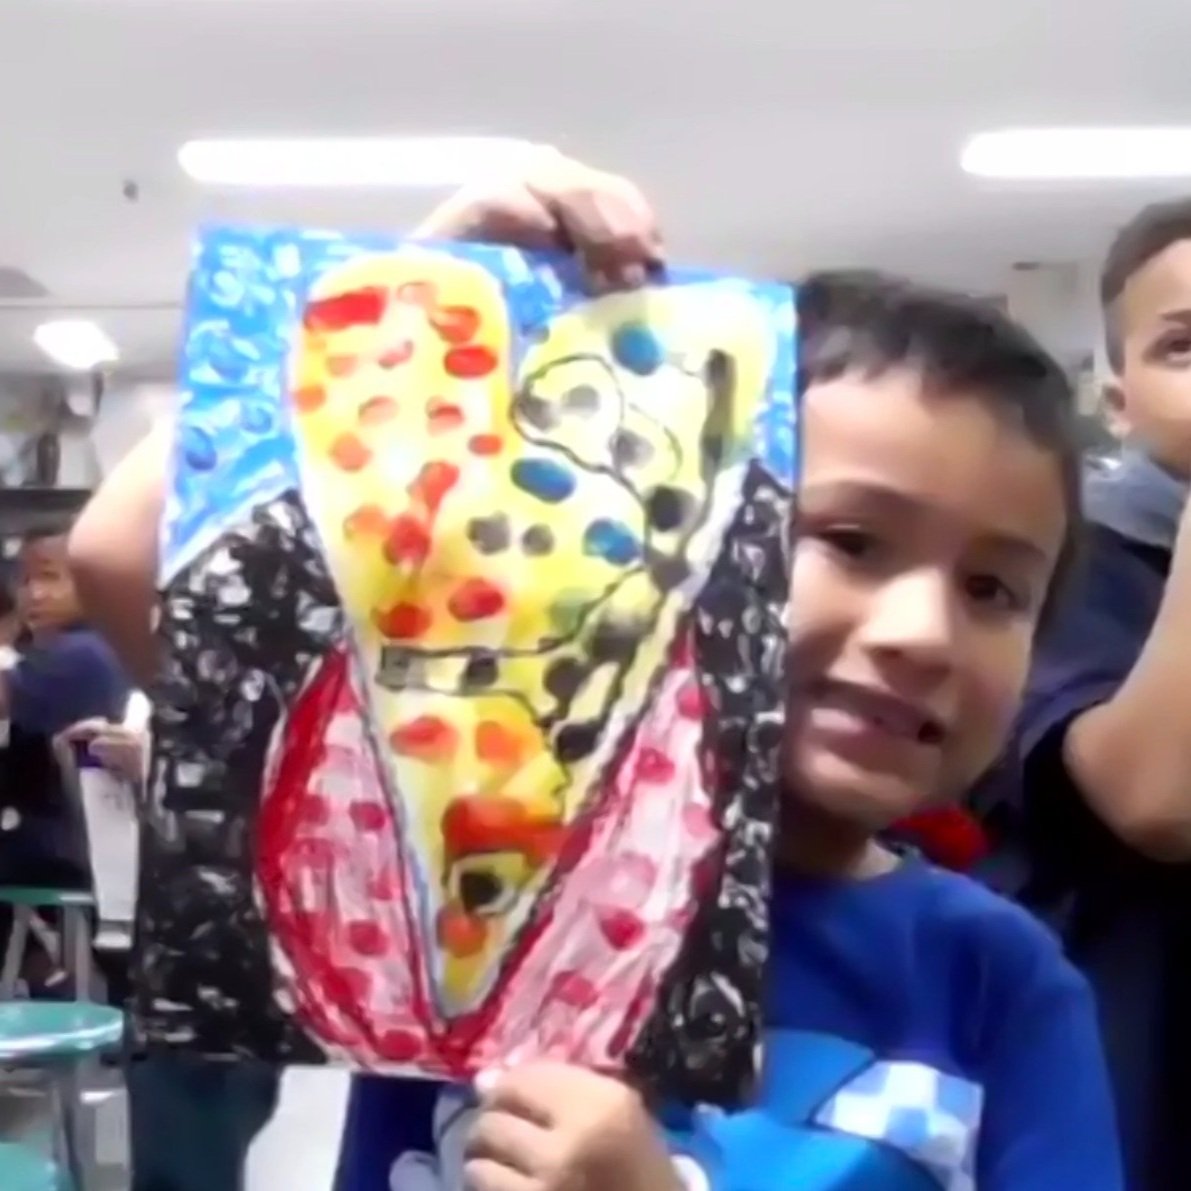
Wrap up with the idea that we’re now going to create our own unique, beautiful butterflies and explore change through a fun print-making process using aluminum foil.
Here Are The “My Unique Butterfly” Art Activity Instructions:
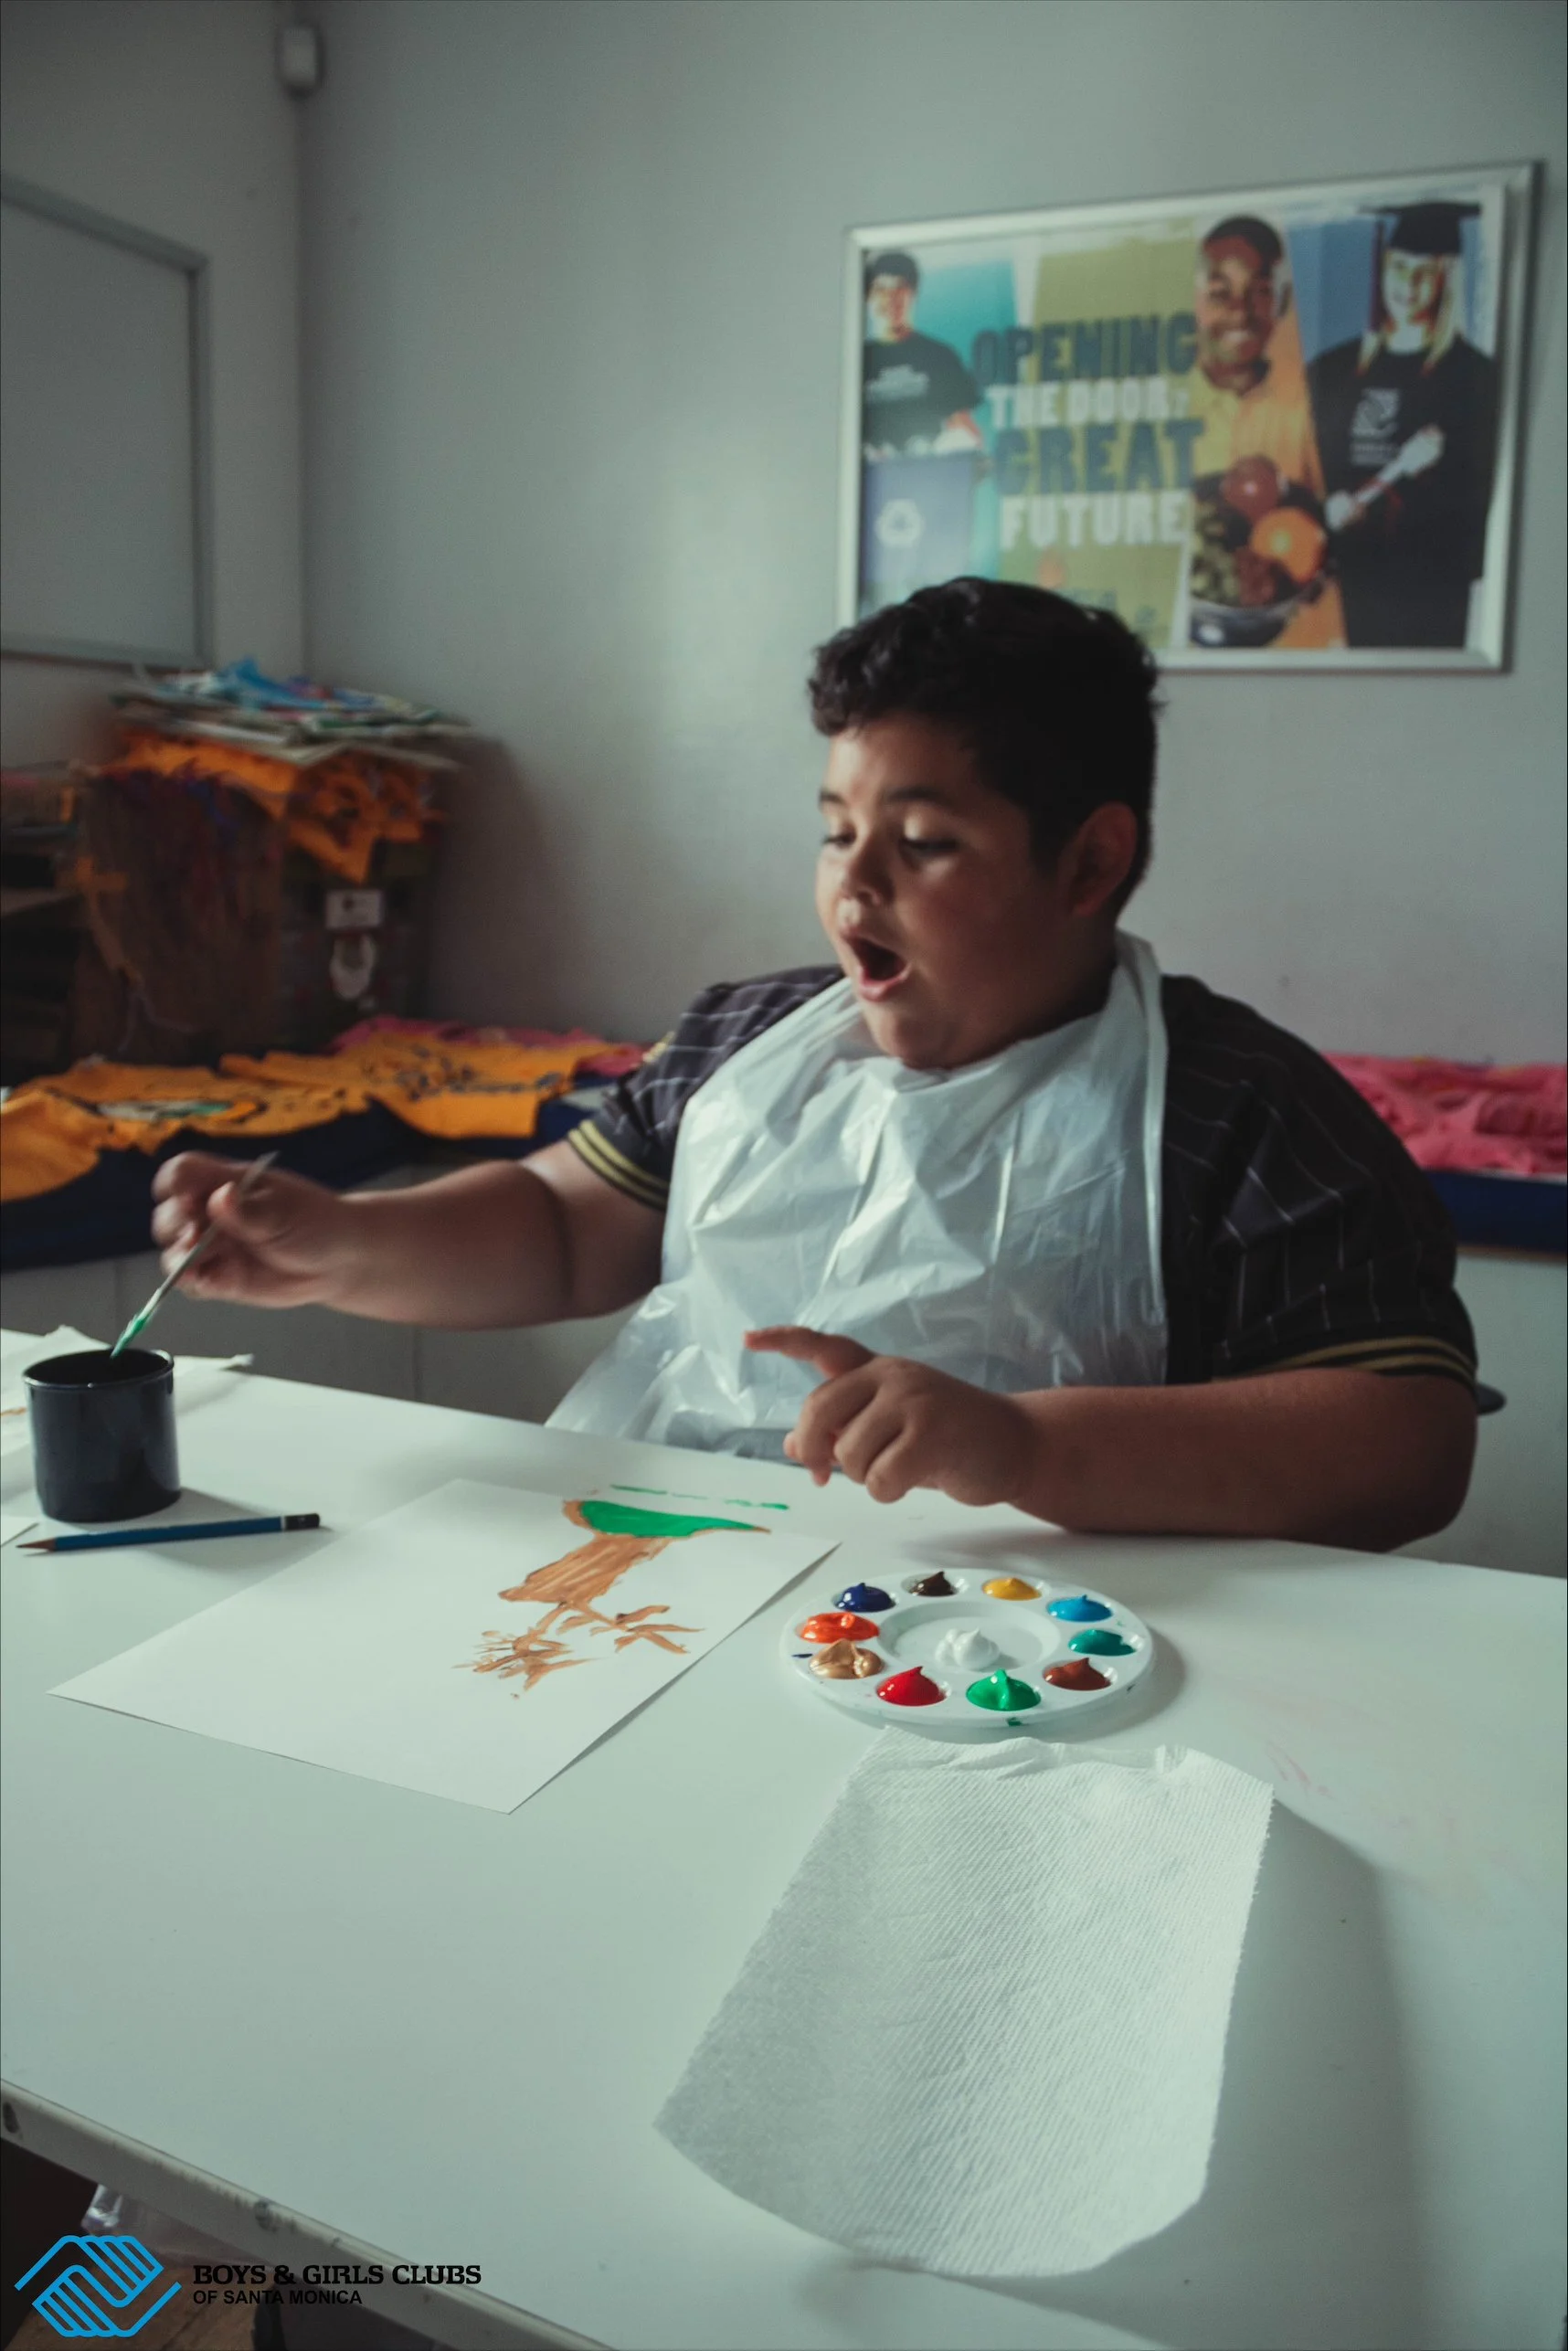
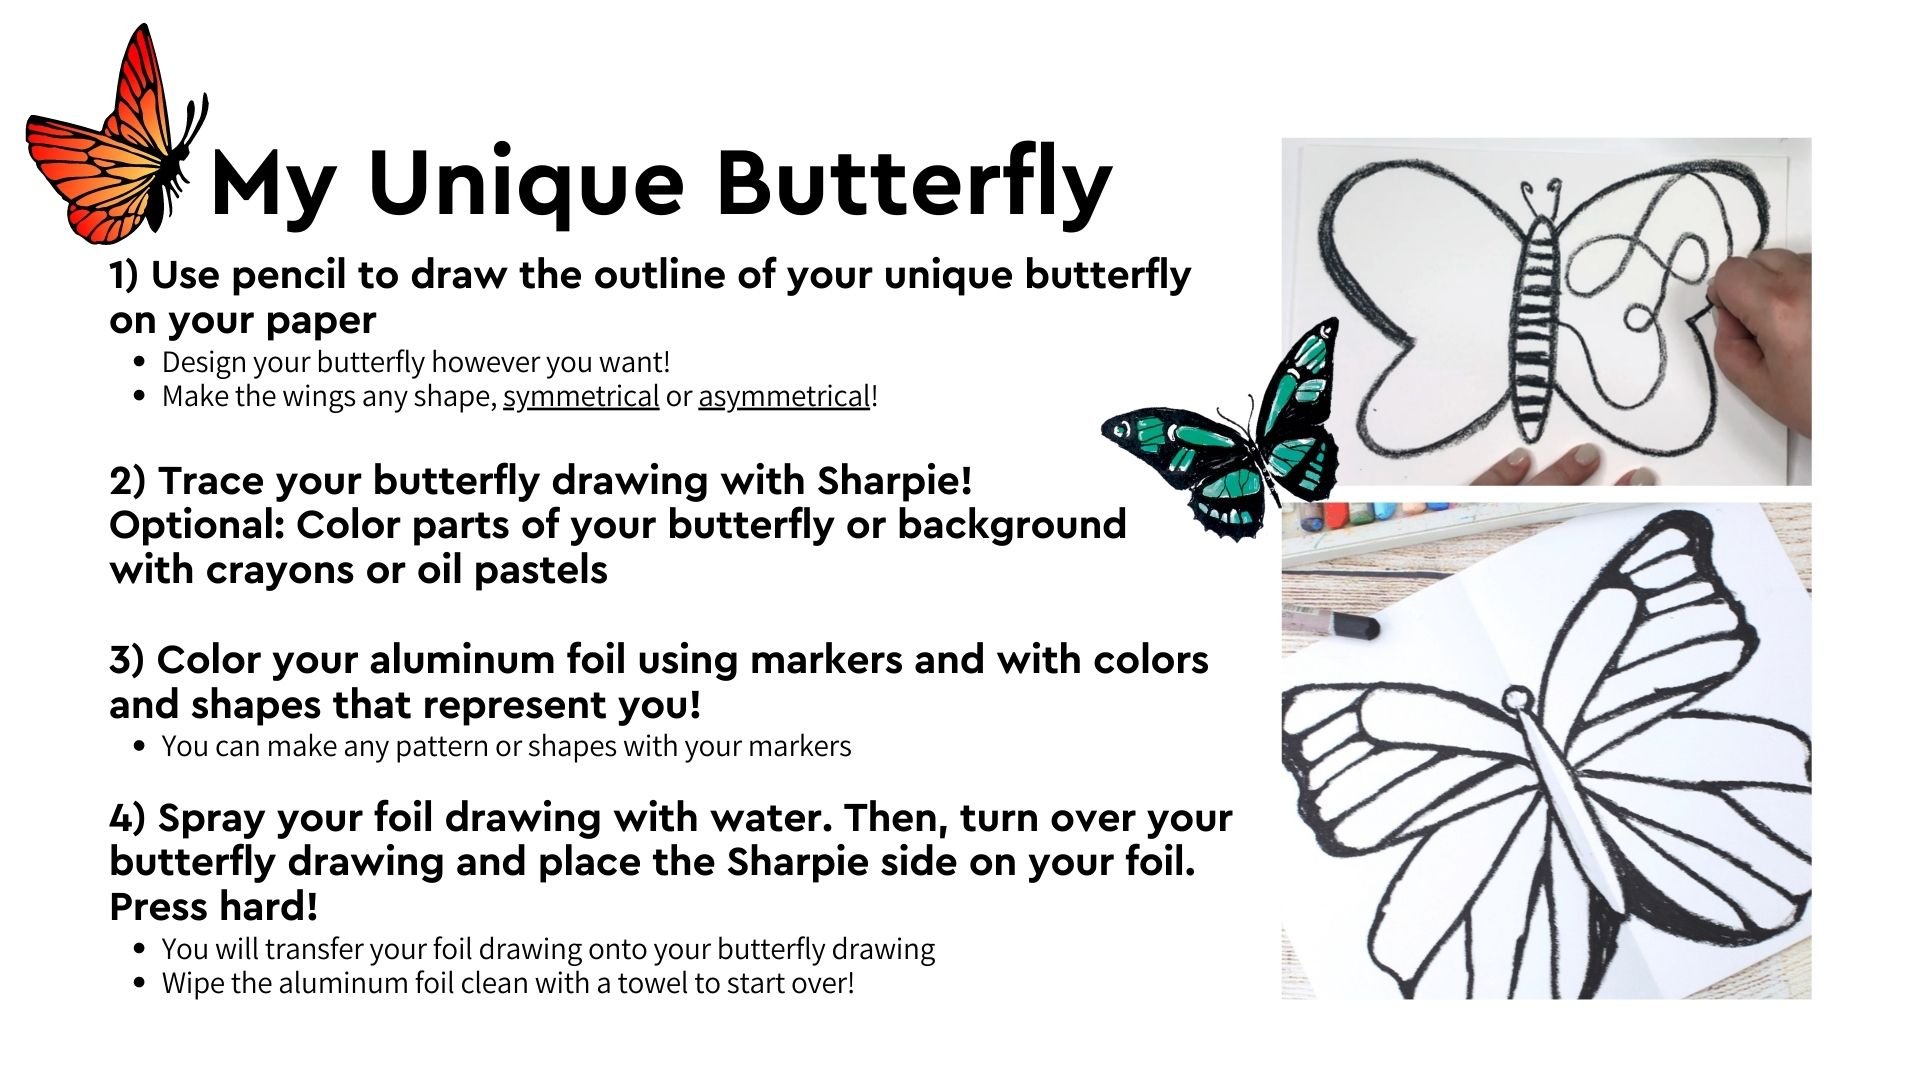
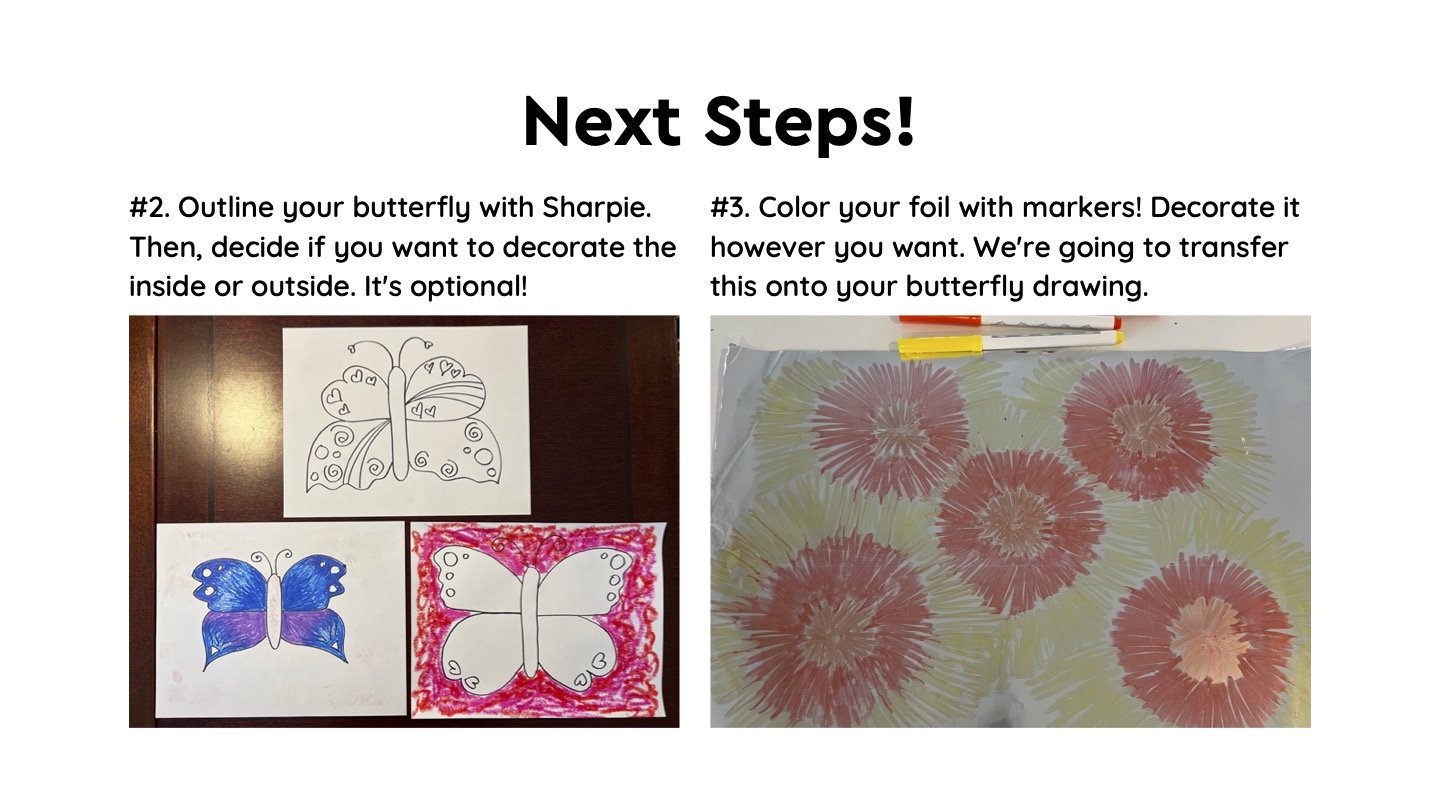
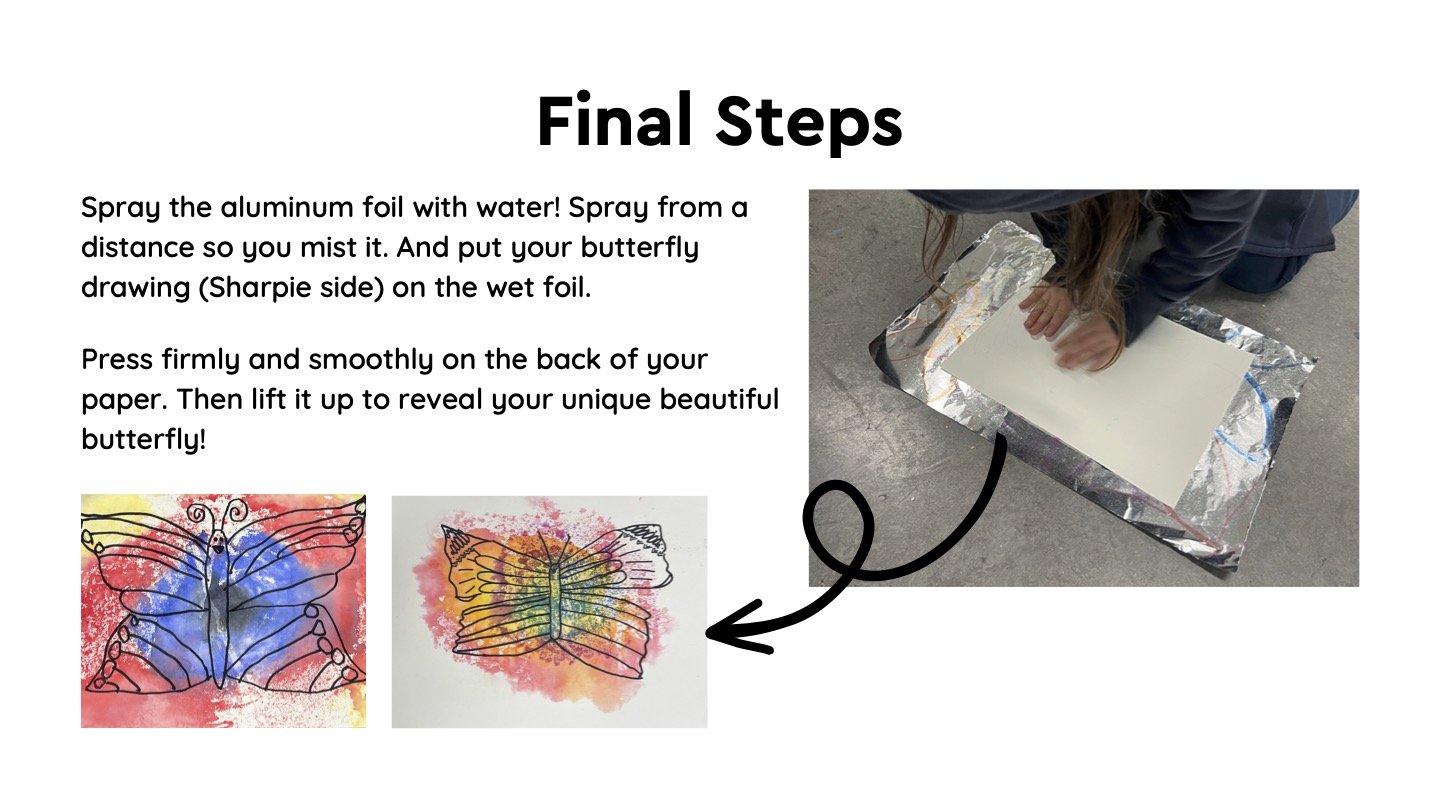
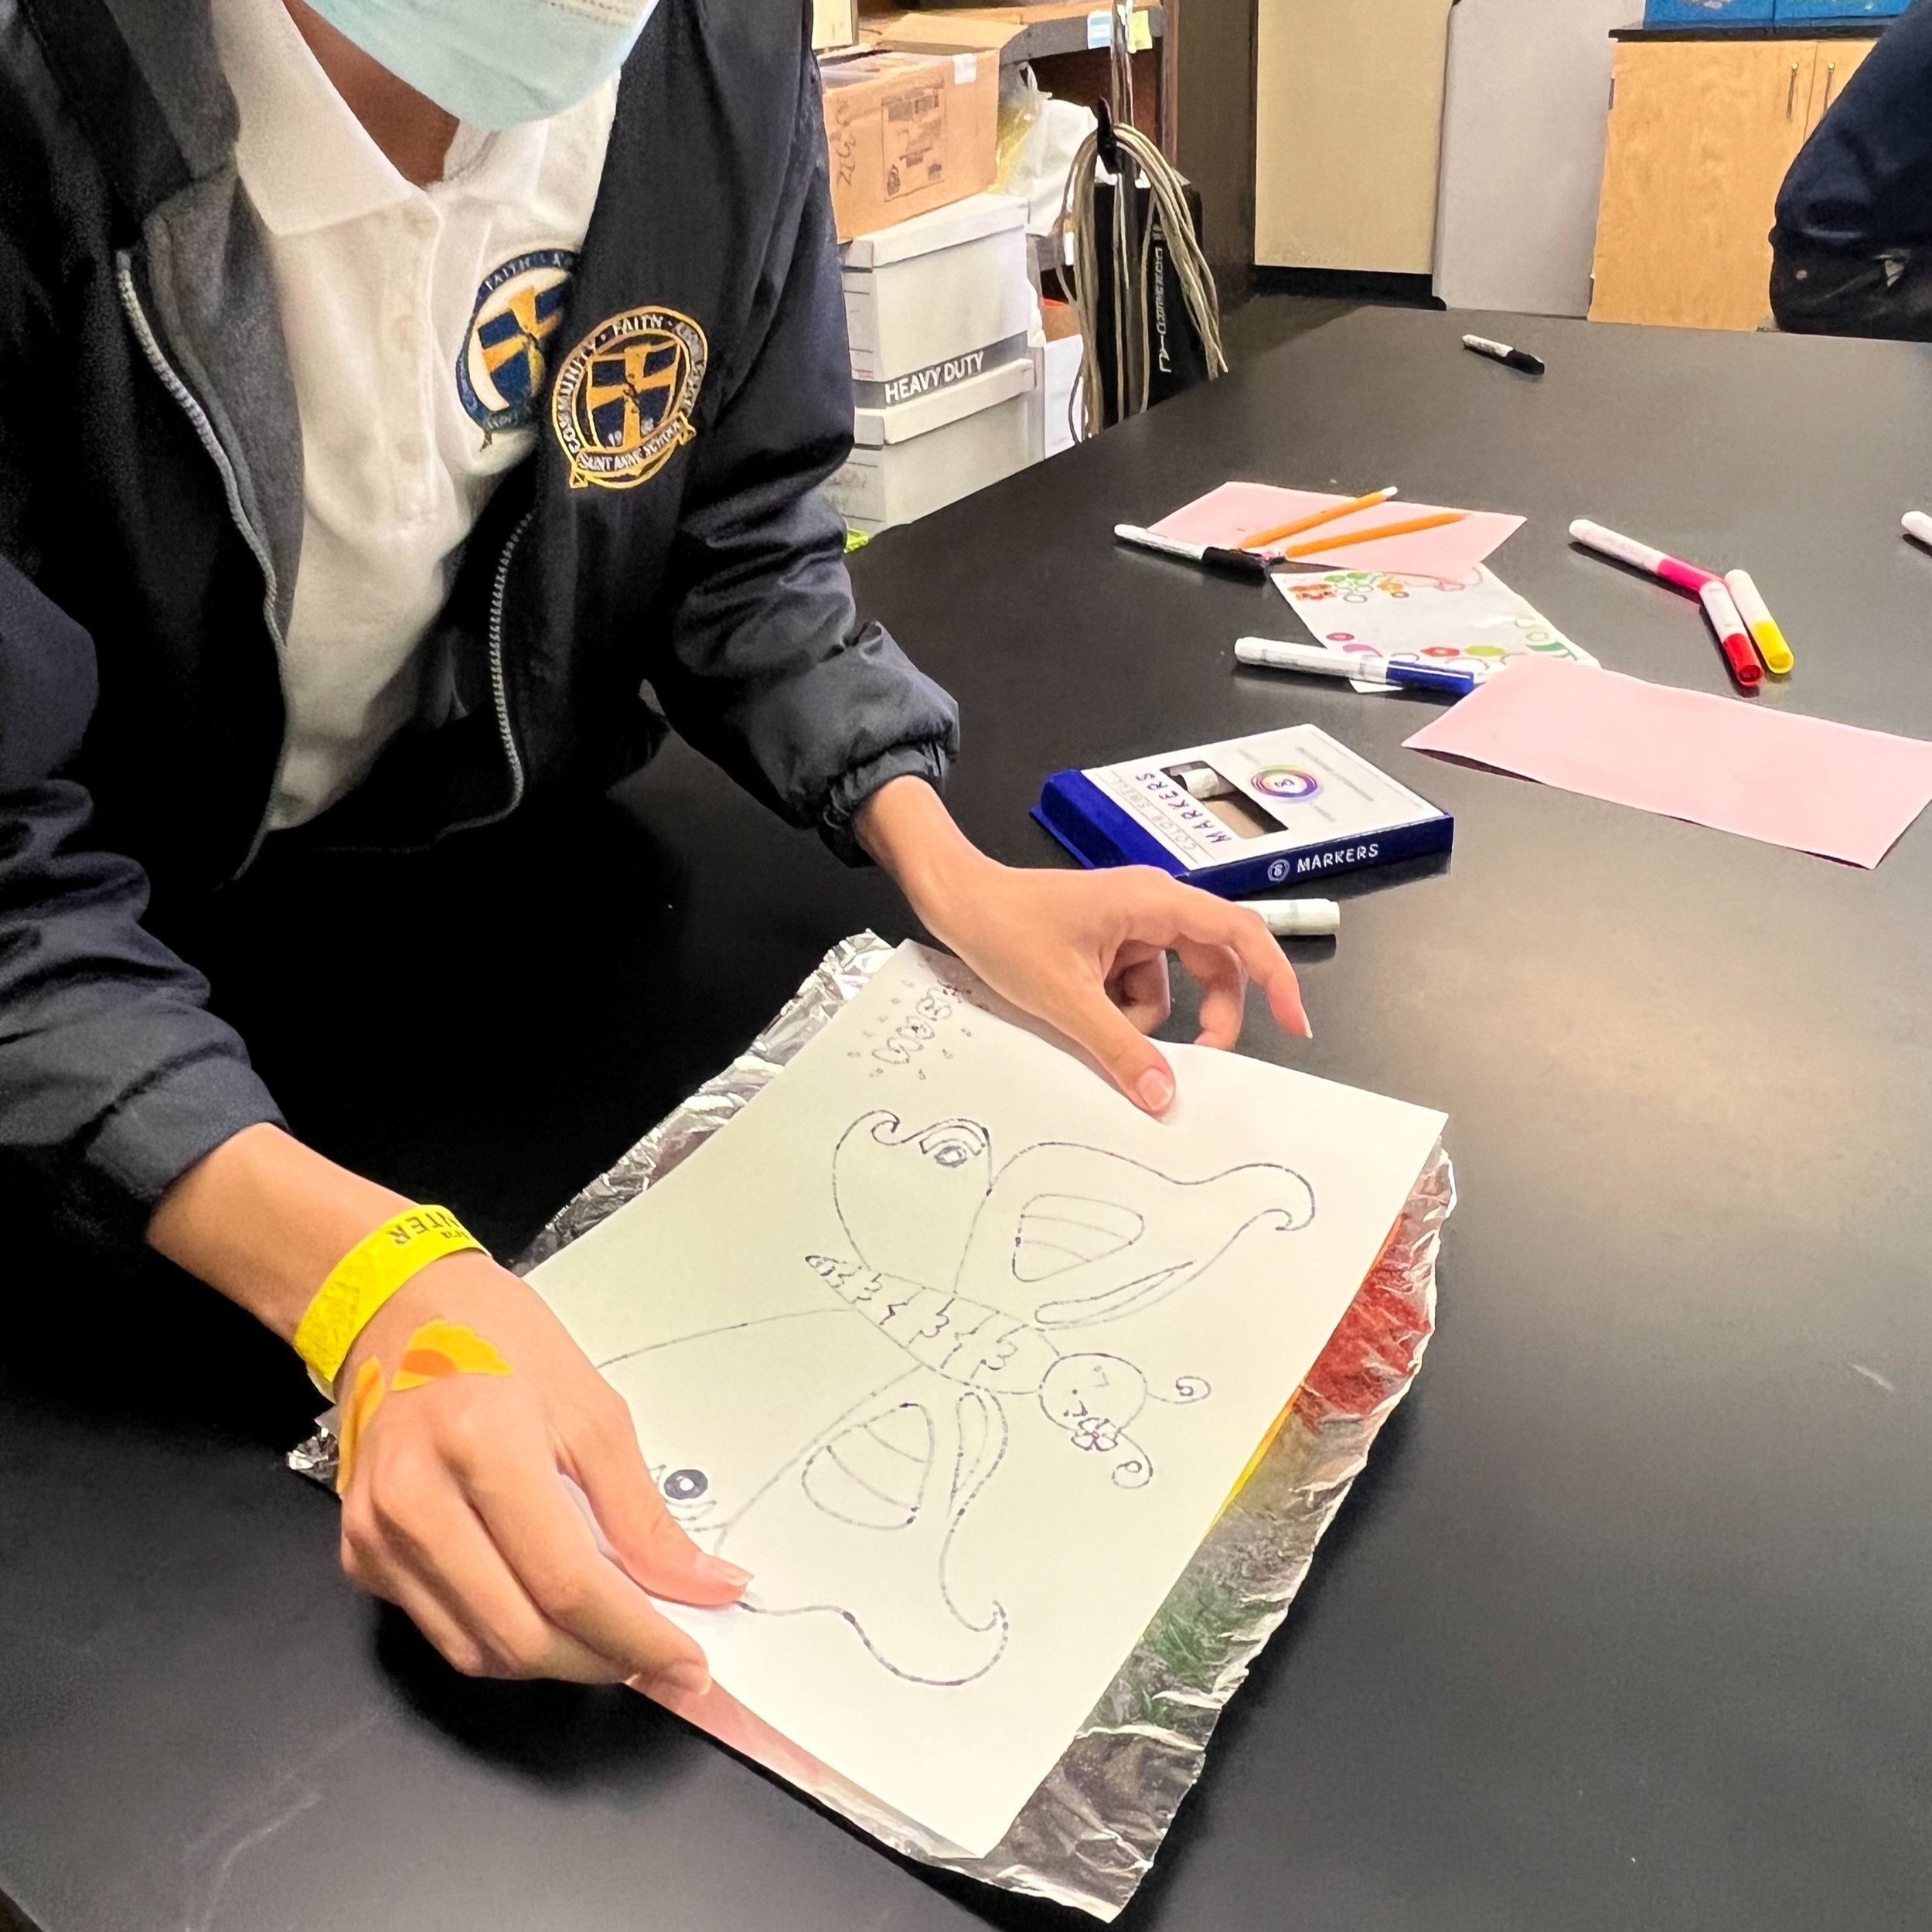
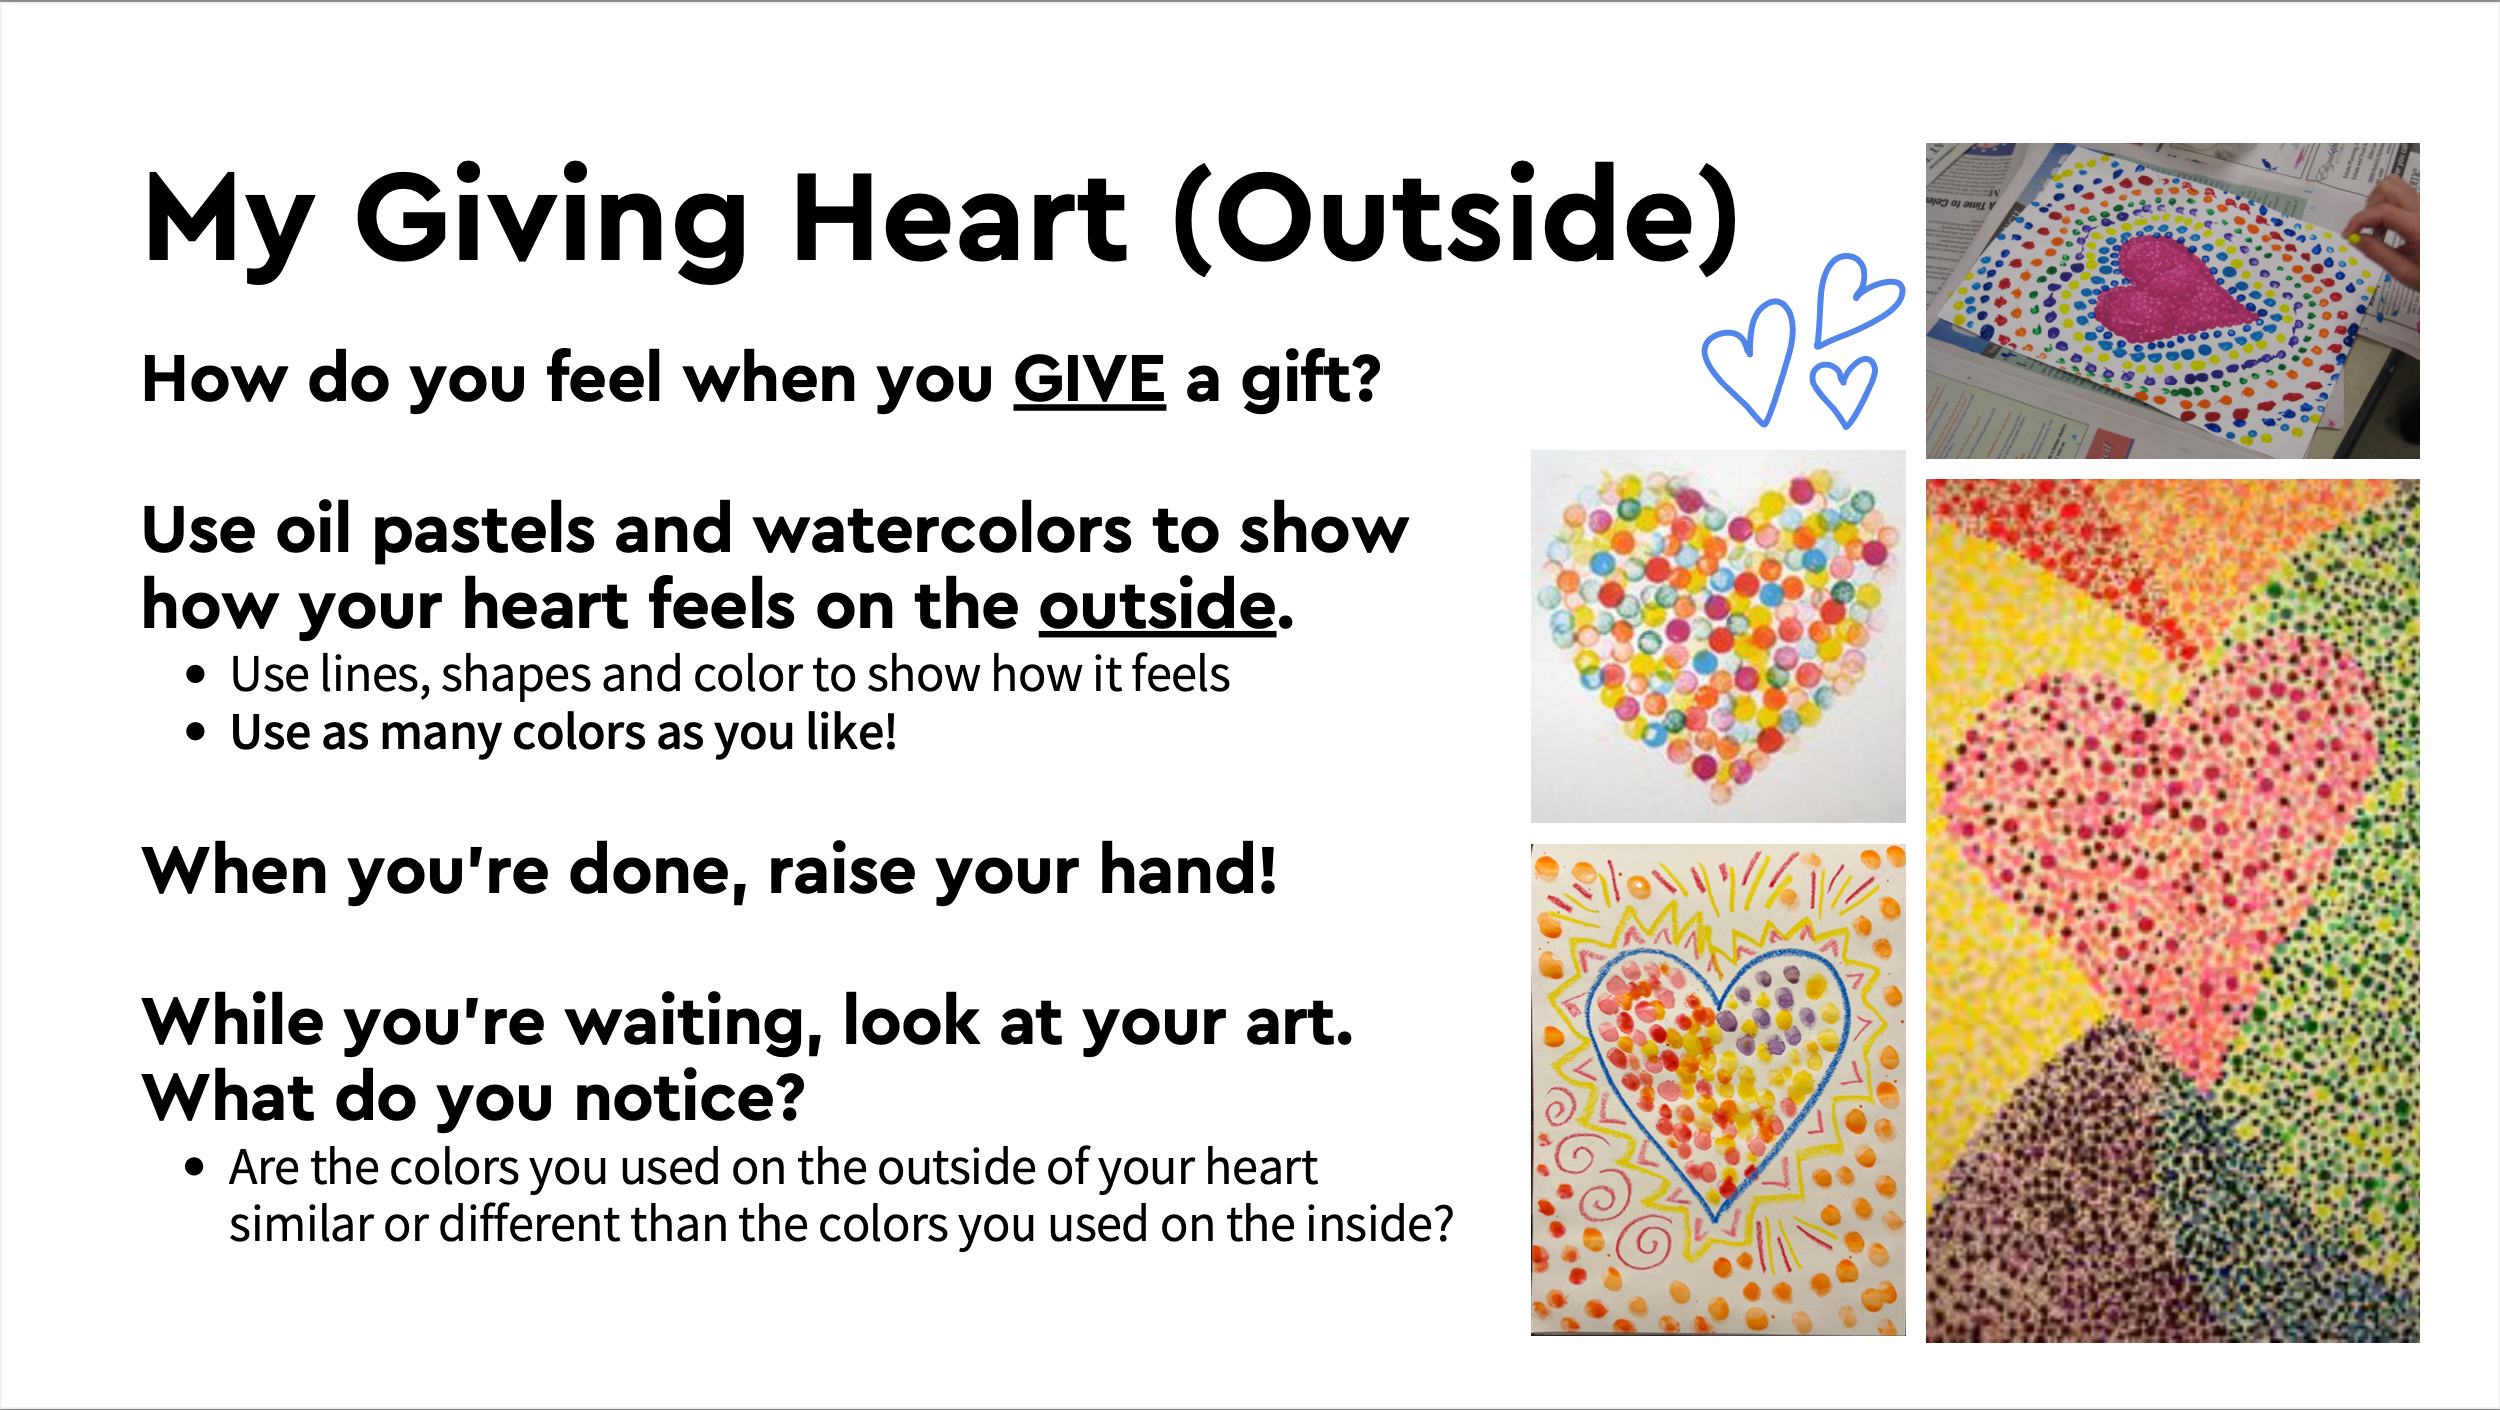
Pull out one piece of watercolor or mixed media paper (regular paper is ok too if that’s what you have!), and tell yourself or your participants that you’re going to first draw using pencil. The paper can be oriented vertically or horizontally.
Proceed to follow the initial drawing prompt and activity instructions in the slides below: