Community Support! Free Art Kits Given to Children of the Colorado Wildfires

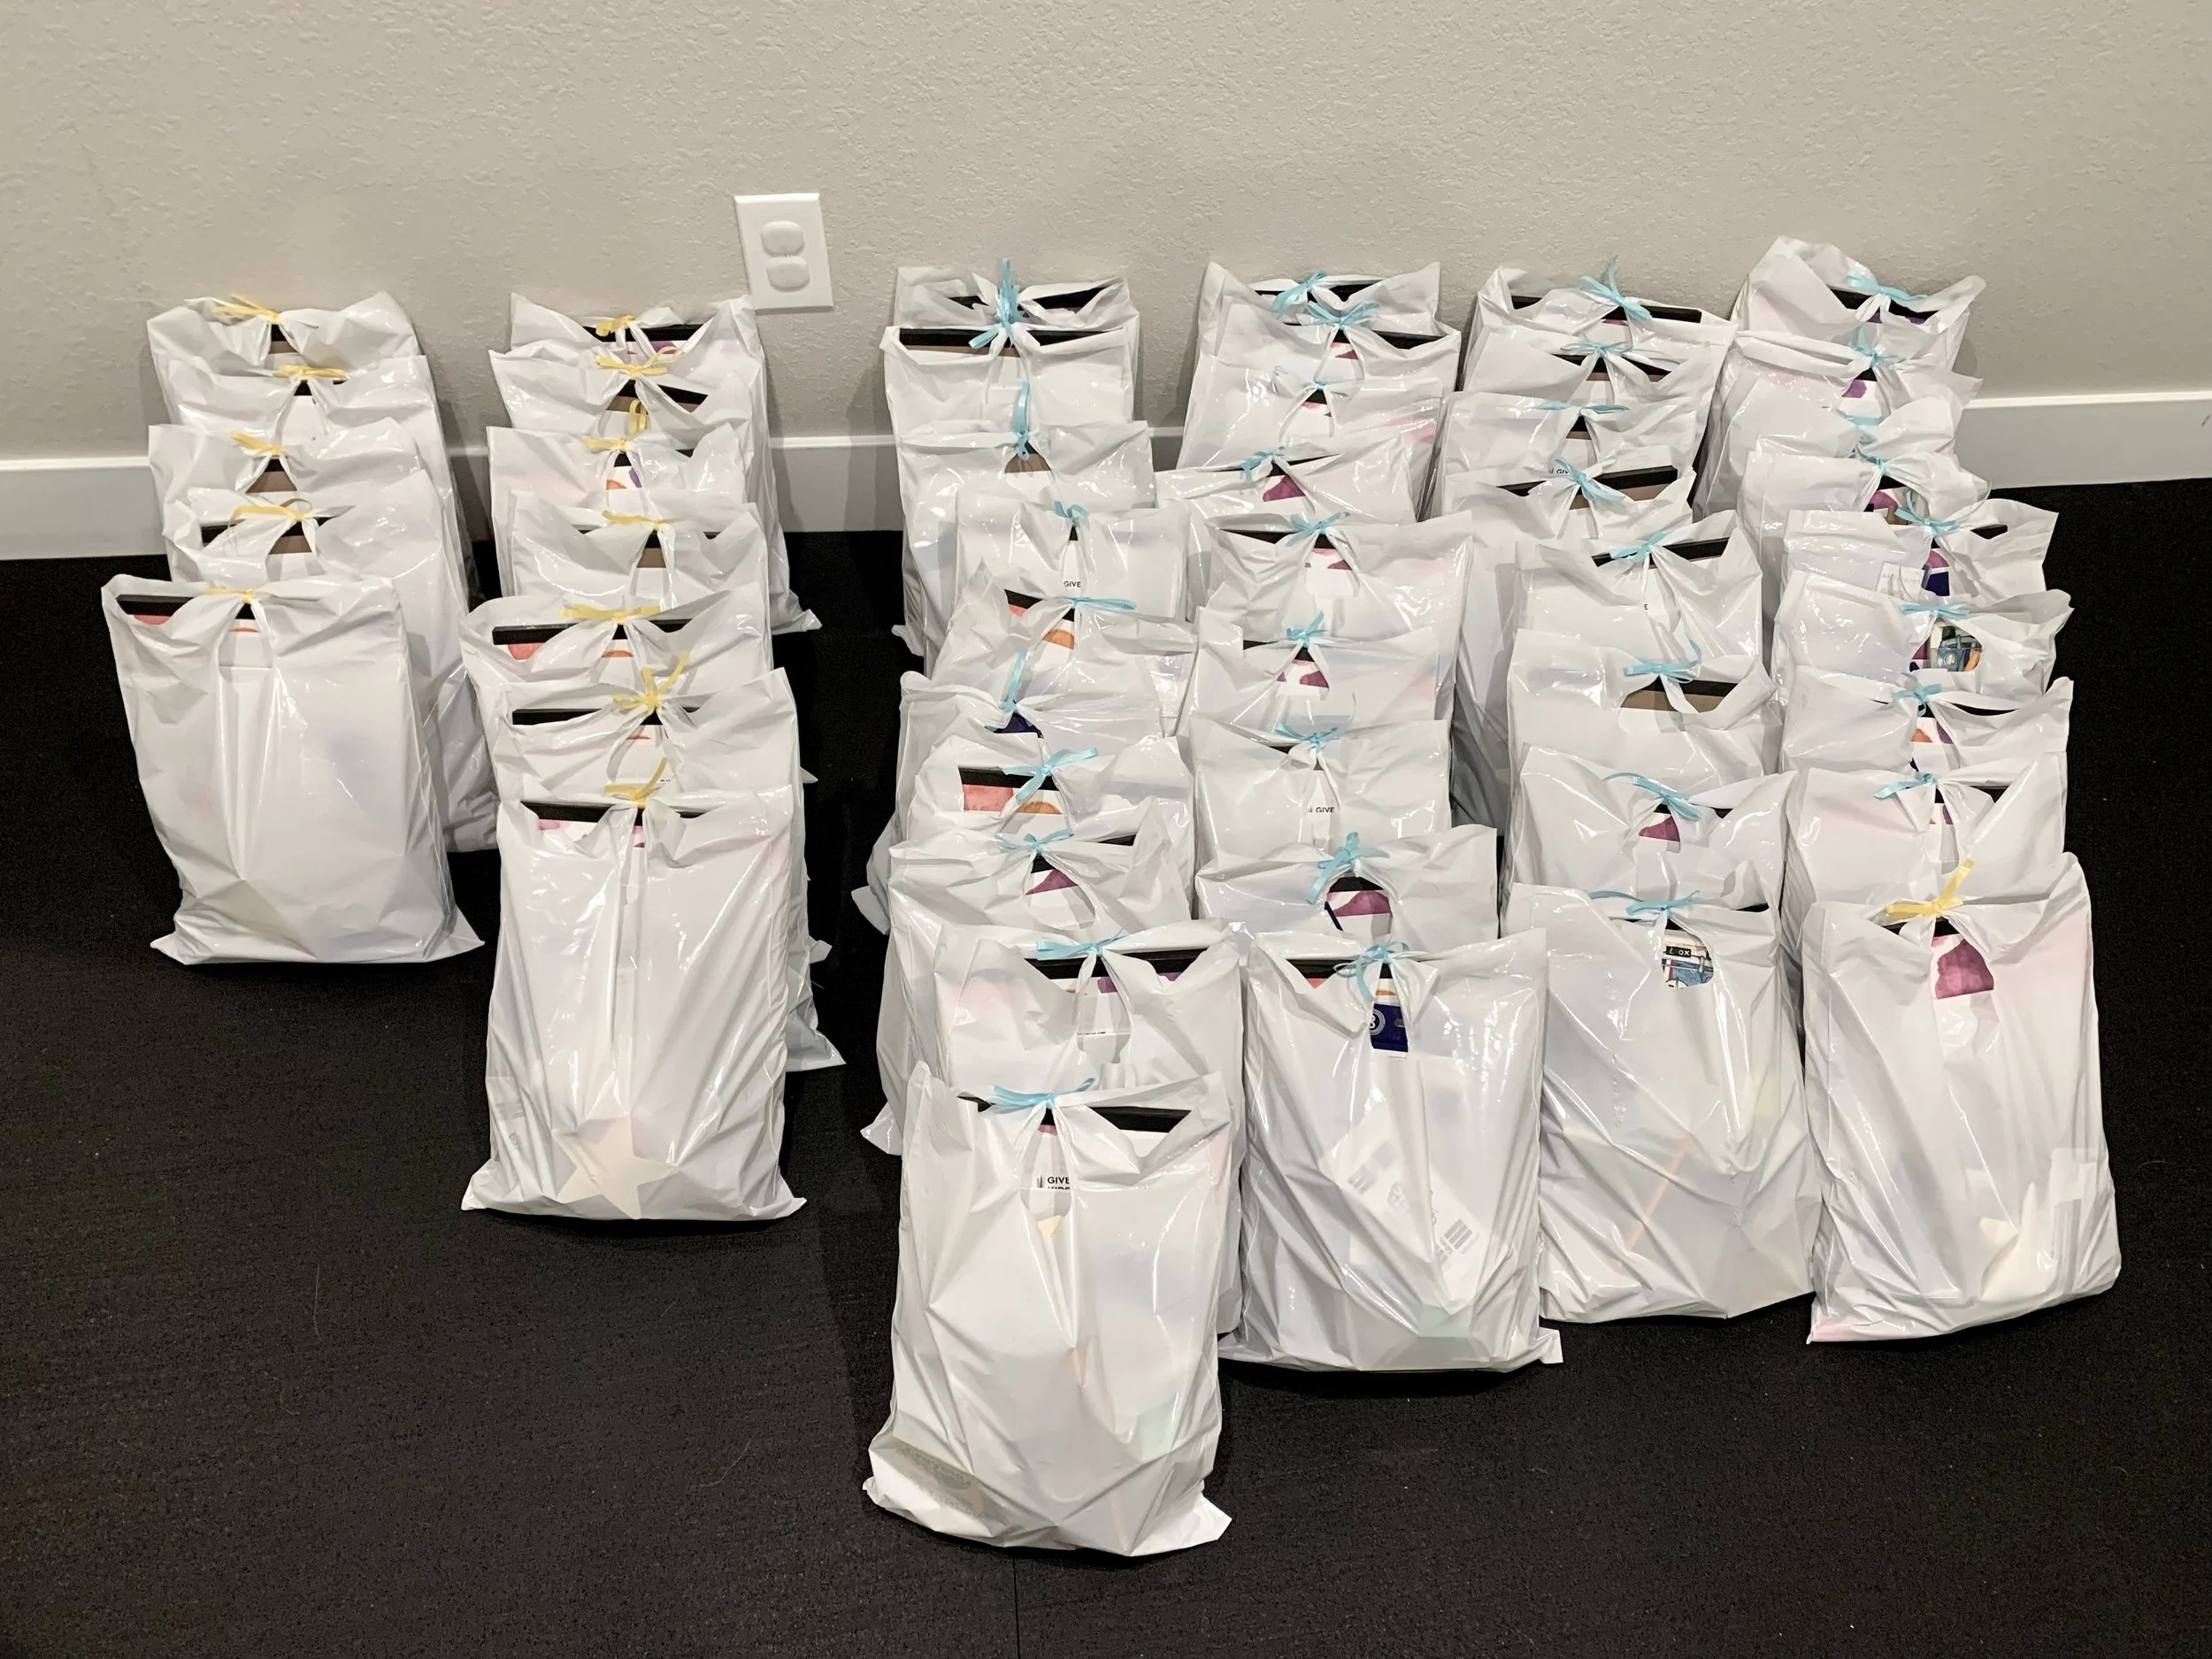
Our friends in Colorado – husband and wife duo, Aaron & Rupal Deitz – recently made and delivered about 50 Art Kits to families and children displaced by the recent Colorado wildfires. The fires destroyed nearly 1,000 homes and forced tens of thousands to evacuate in Boulder County, Colorado. You can more read about the devastation here.

Our volunteer friends knew of families affected by the fires, who lost their homes in Superior and Louisville, CO and wanted to help their community! We sent them all the art supplies and instructions to make the Art Kits. Then, they passed out the Art Kits personally at Superior Elementary School on Saturday, January 15th.

Rupal Deitz, MSN, C-PNP – a local Pediatric Nurse Practitioner at Children's Hospital Colorado, an amazing mother and friend – spearheaded the initiative, organized the distribution spot, and promoted the drop, reaching out to local organizations to help spread the word! With sincere gratitude, we say THANK YOU!

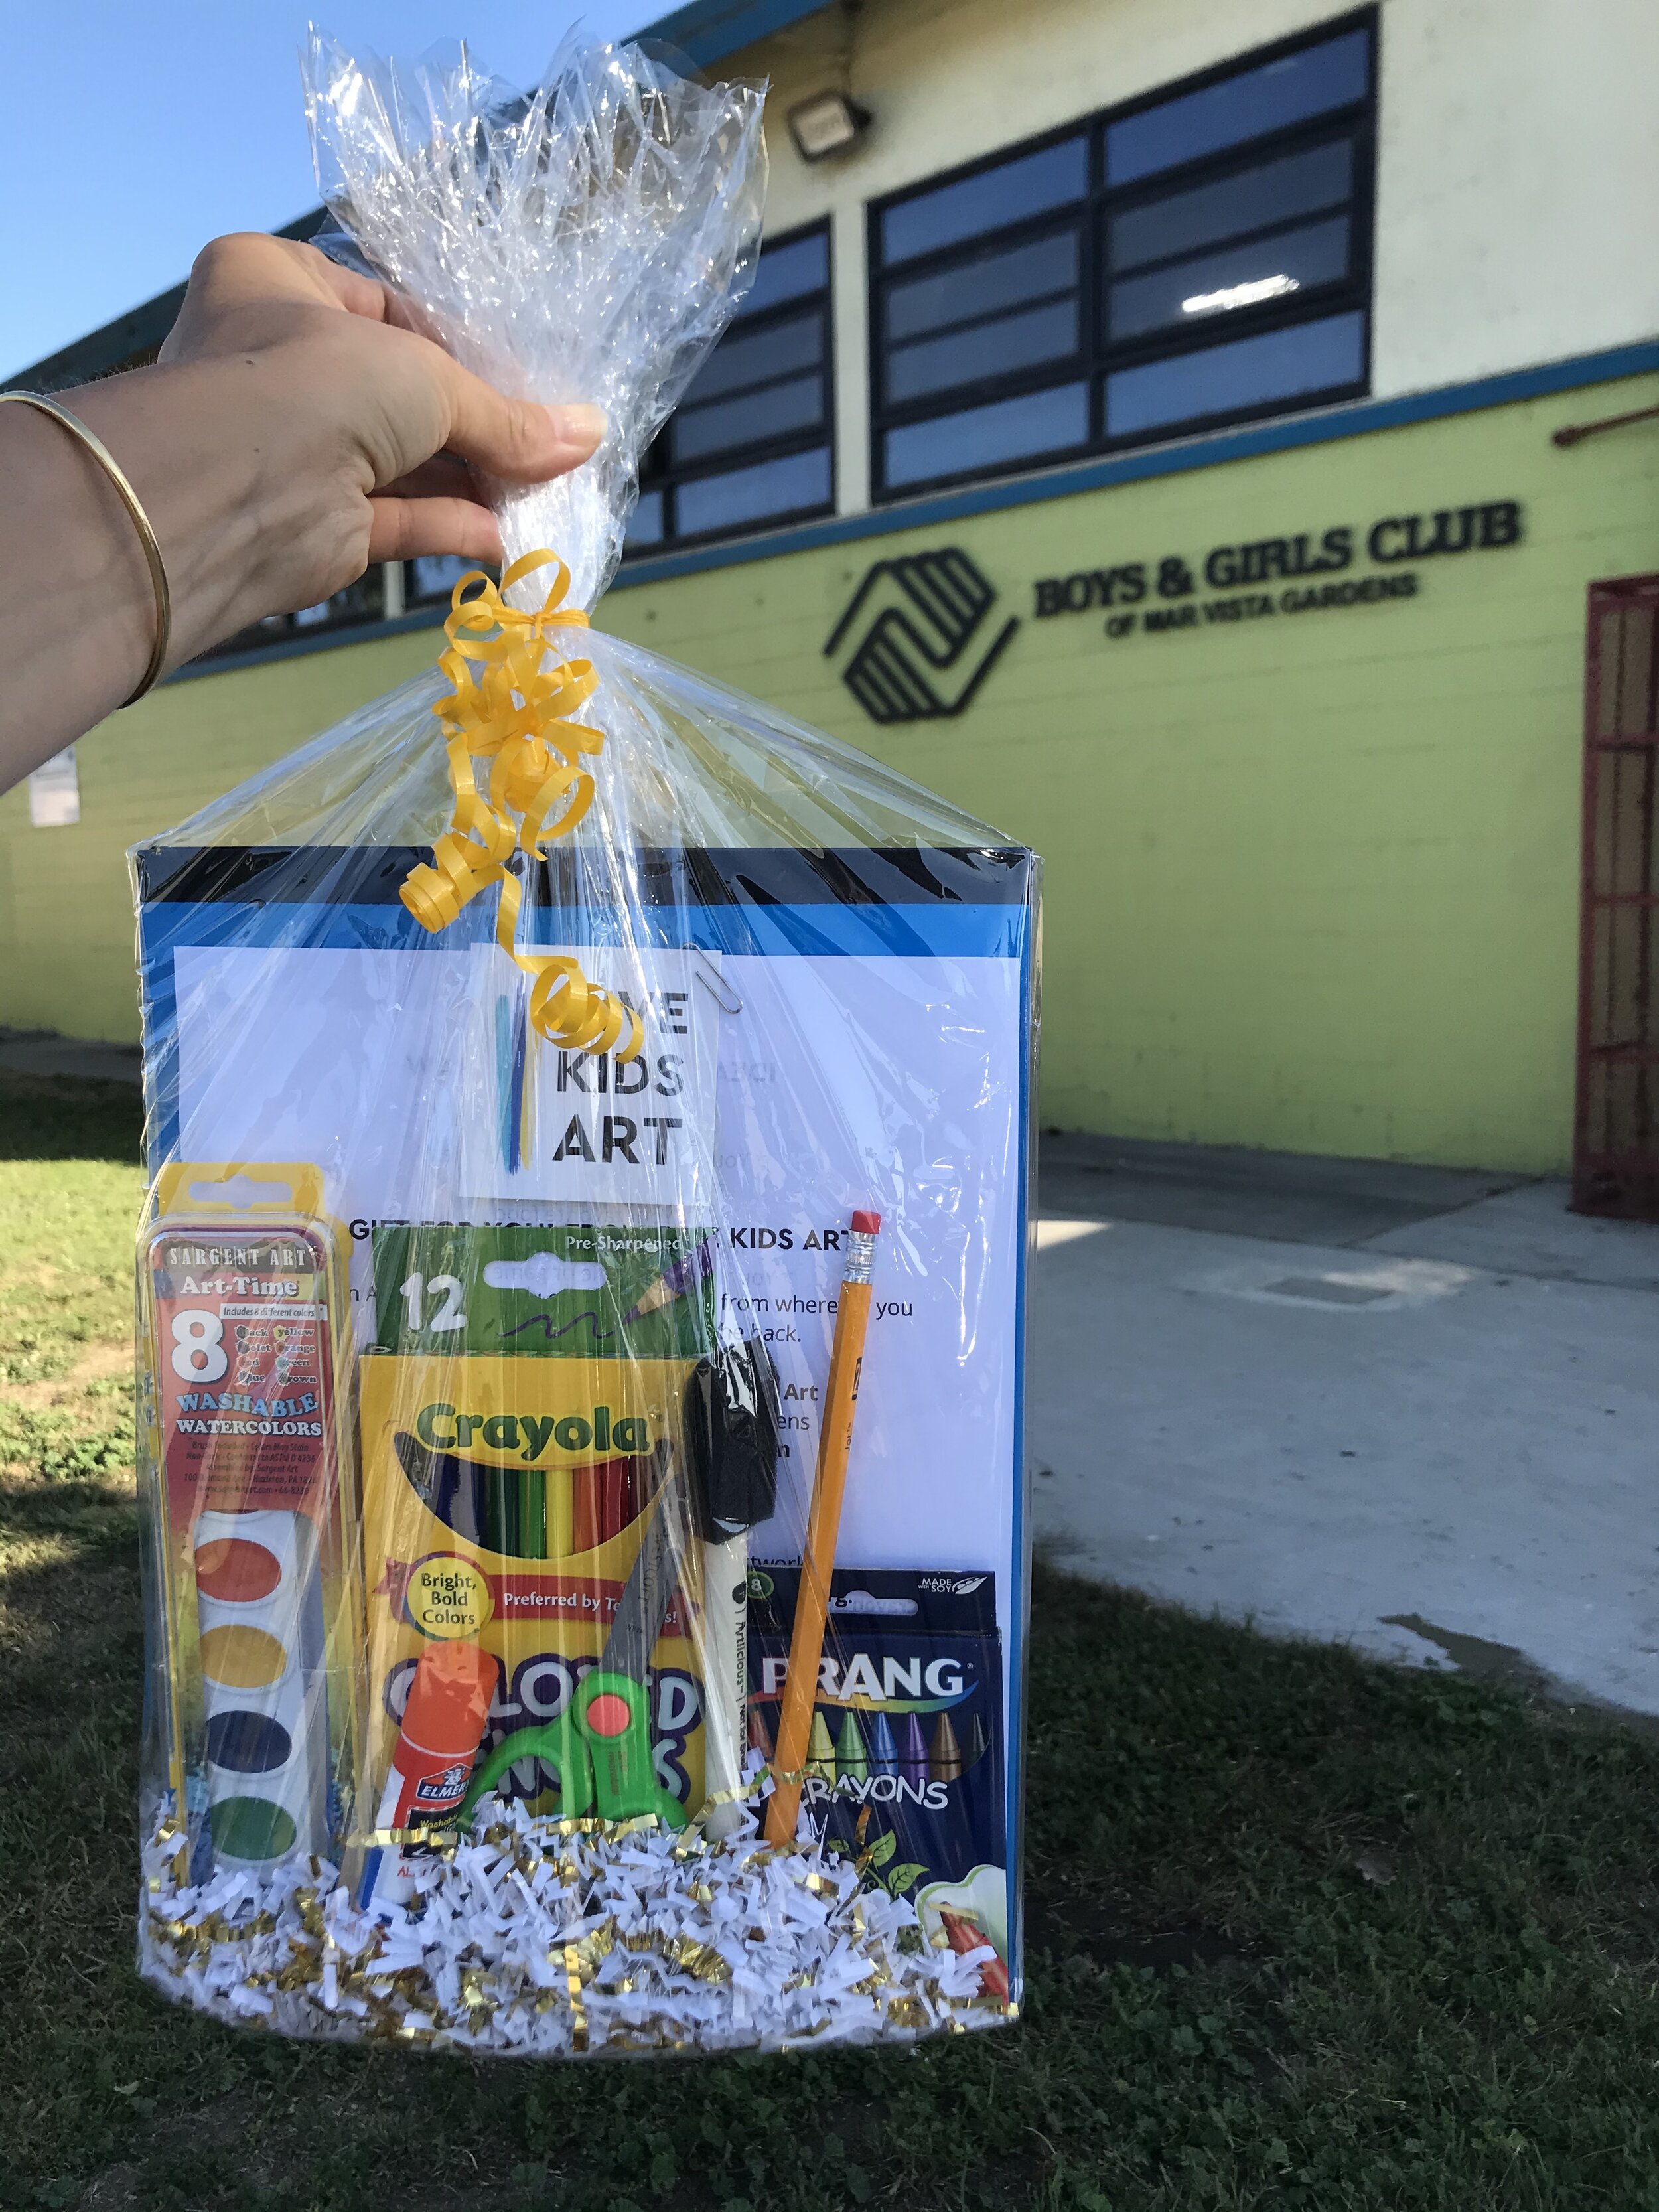
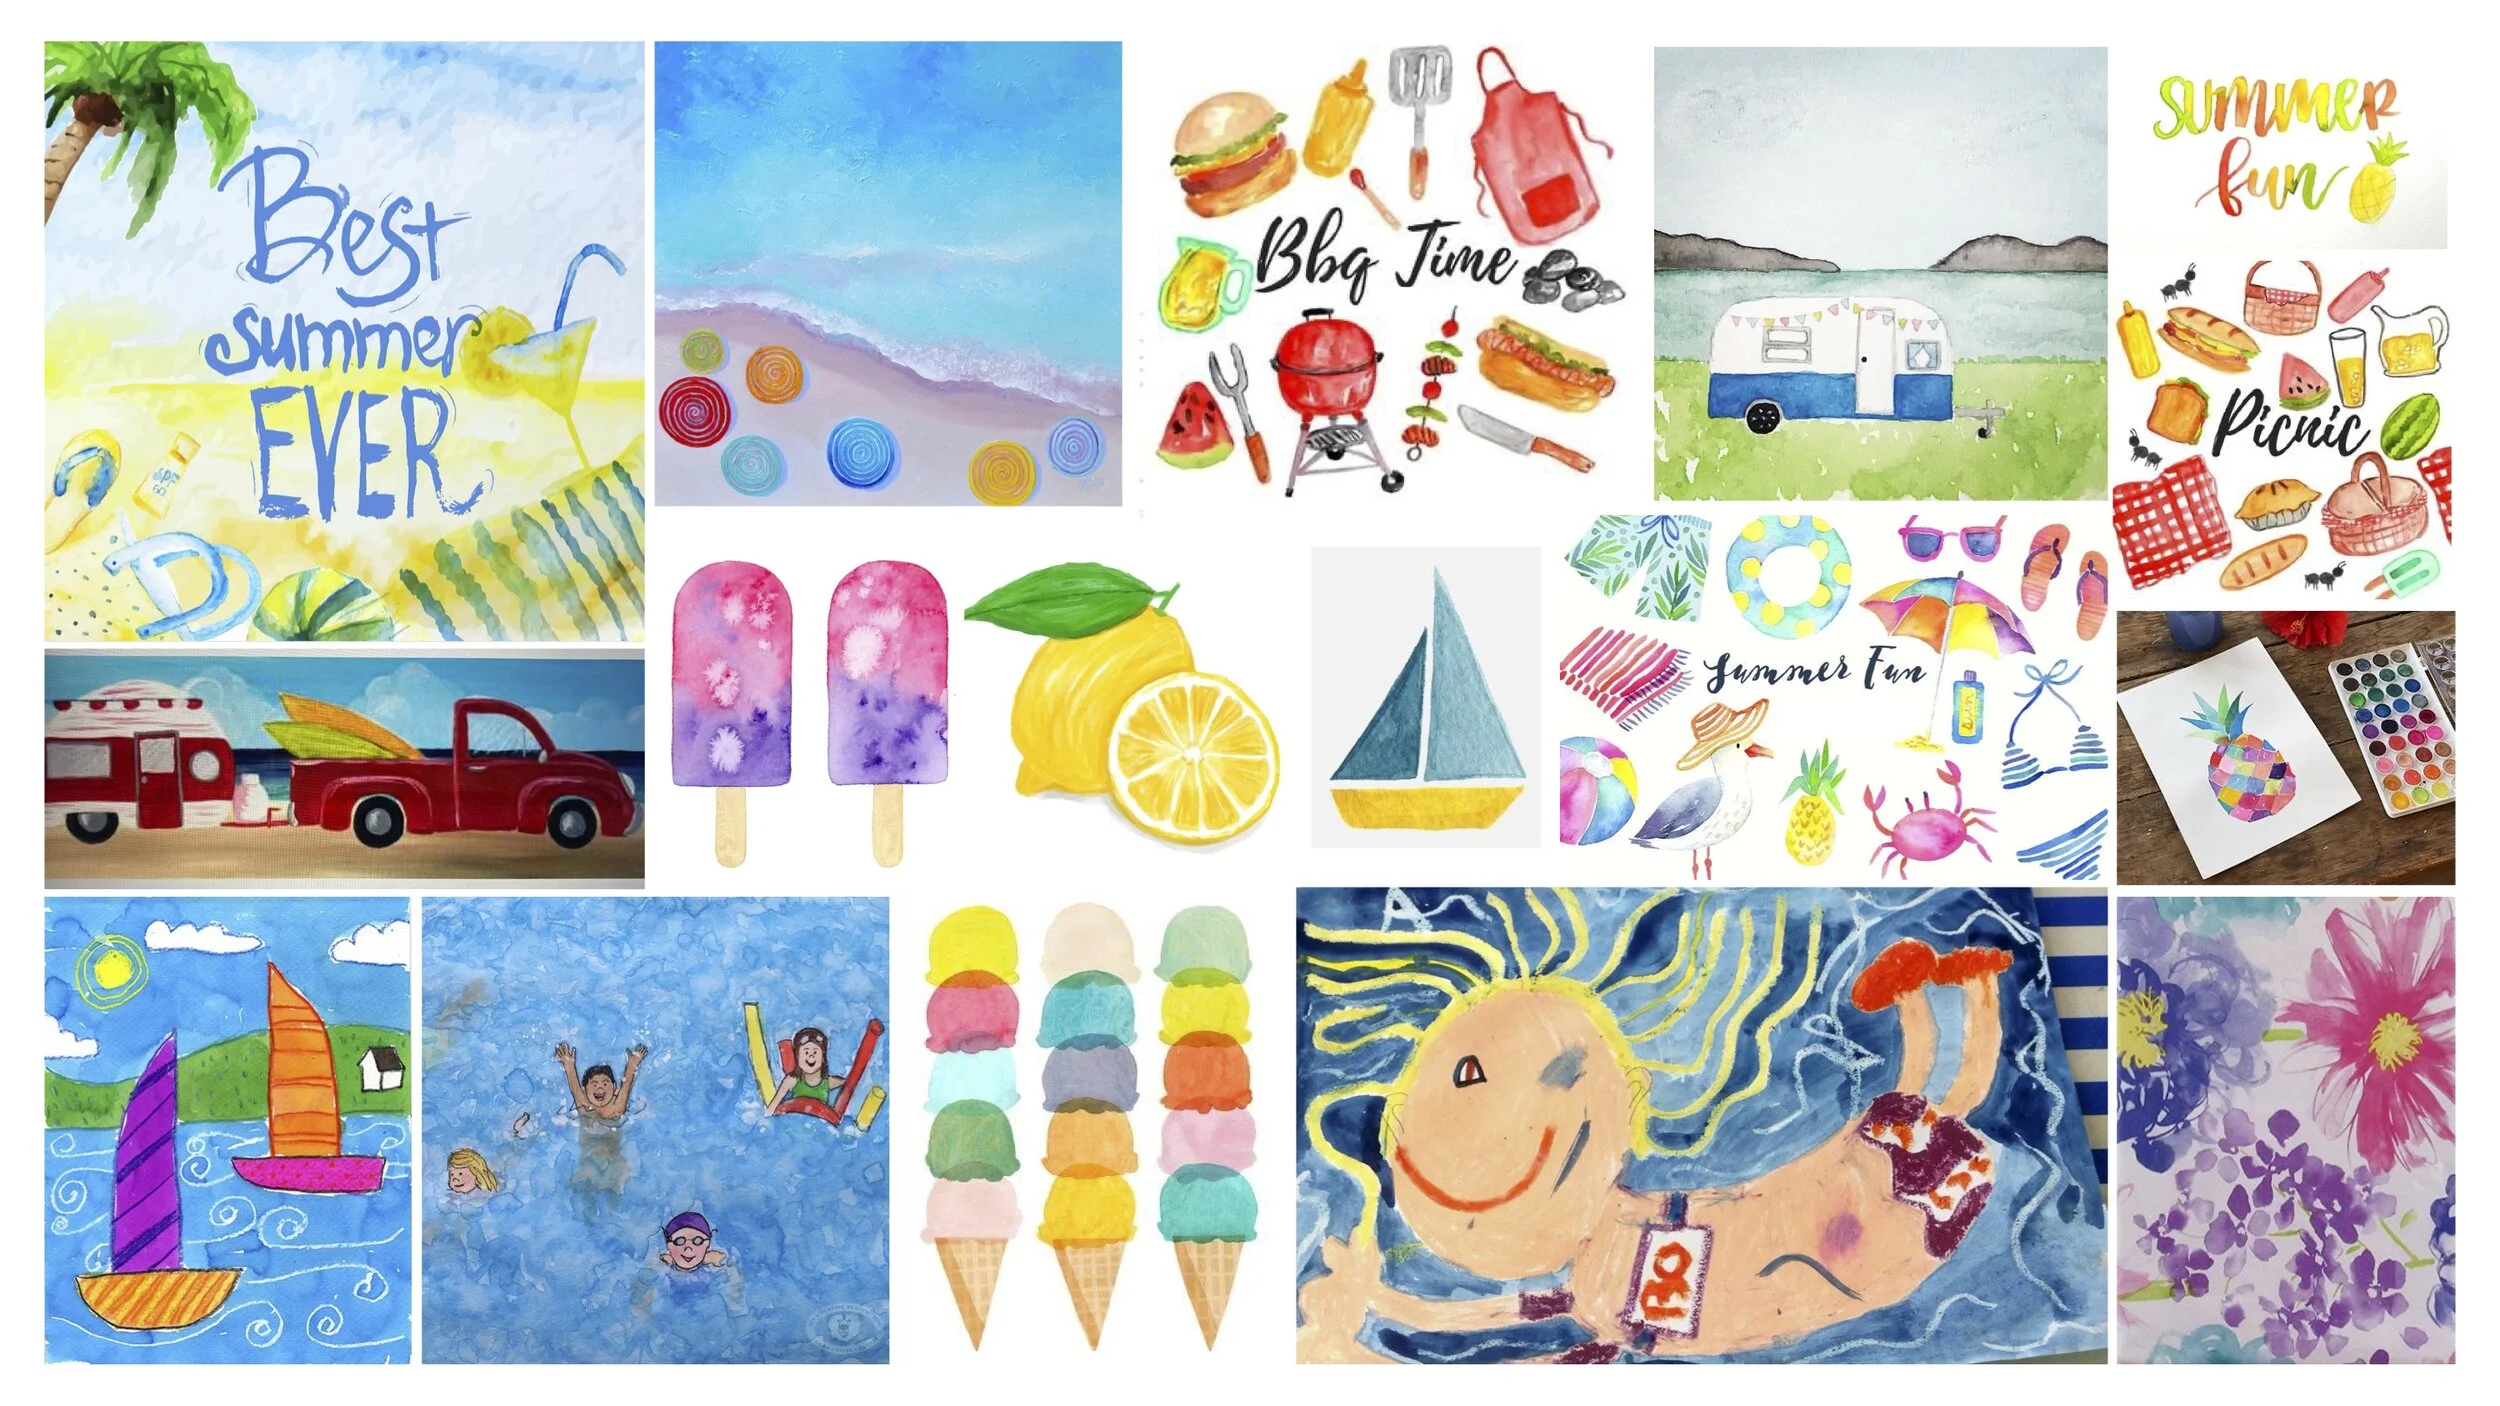
Each Art Kit included:

  • 1 40-Page 9x12 Paper Pad

  • 1 8x10 Canvas Panel

  • 1 Give Kids Art “What’s In Your Heart” Activity Worksheet

  • 1 Kraft Journal

  • 1 Box of Crayons (8ct)

  • 1 Colored Pencil Set (12ct)

  • 1 Color Swell Marker Set (8ct)

  • 1 Color Swell Watercolor Set with Brush

  • 1 Extra Blue Paint Brush

  • 1 Extra Foam Paint Brush

  • 1 No. 2 Pencil

  • 1 Pencil Sharpener

  • 1 Roll of Washi Tape

  • 1 Sharpie Pen

  • 2 Glitter Glue Pens

  • 2 Clay Model Magic Packets

  • 2 Wood Star Shapes to Decorate

  • 1 Small Container of Slime

Interested in working with us to distribute more Art Kits in Colorado? Please contact us here.

Interested in making and distributing Art Kits in your community or as part of a local relief effort? We’d love to chat! Please fill out the form on this page, and we’ll get back to you shortly.

Life’s most persistent and urgent question is, ‘What are you doing for others?’
— Dr. Martin Luther King, Jr.

Shop to Give Kids Art! Kendra Scott Giveback Event Starts July 24th

Like jewelry? Need a gift for Someone?

Here’s the quick version:

Starting this Saturday, July 24th for 48 hours, shop at KendraScott.com and 20% of the proceeds from all your purchases online will go toward helping us give art to kids.

Use this code at checkout:

GIVEBACK-AGSCB

Want more details and ways you can help?

Scroll down for all the info or view here.

Thank you for supporting our mission to help kids create fearlessly! #shoptogivekidsart


1. Get Ready for the Event

If you’re like our little artists, it’s all about… Rainbows, Hearts, Butterflies!

Here are some new and classic Kendra Scott collections inspired by our artists to inspire you. They have beautiful everyday and statement pieces as well as men's jewelry too.

Start shopping your picks at Kendra Scott today! Get your cart ready.


Have questions or want to learn more?

Join Give Kids Art + Kendra Scott for a private, virtual kick-off party!

Thursday, July 22, 2021

4pm PST / 7pm EST

Zoom Link Here

Get a look at some of the latest and classic collections from Kendra Scott and get all your questions answered directly by the LA Store Manager, Sydney Yost.


2. Shop to Give Kids Art

ONLINE

This Saturday, July 24th, shop online at KendraScott.com! You have 48 hours to use the code at checkout, so that 20% of the proceeds from your purchase go to Give Kids Art.

Use this code at checkout: GIVEBACK-AGSCB

Confused on how to use the code? Watch this quick video

IN-STORE

Live in Los Angeles? Come shop in-store at the Century City Mall location on Saturday, July 24th between 12pm - 4pm PST. You’ll get a special gift from us too.

Kendra Scott

10250 Santa Monica Blvd SPACE 1813

Los Angeles CA 90067


3. SPread the Word!

Not in the mood for shopping? No problem at all!

Please share this page link to your friends, or message this flyer to anyone who may be interested.

Also follow us on Instagram or Facebook, so you can promote our social posts, like this one.

Thank you so much for your time and supporting Give Kids Art to help kids create fearlessly!

Wish Upon A Star Activity to Start the New Year

While we’re on a short break from programming, we’re still brainstorming fun activities for the kiddos! We tried this one during our holiday workshop with Human Rights First and thought we would share it with you! You can do this activity using any type of supplies – crayons, markers, watercolor paints, acrylic paints, etc. – but we recommend using crayons and watercolor to incorporate the fun Crayon Resist Technique!

To warm up to the main activity, you could use the time to first reflect on the past year. Allocate 10 minutes for the warmup. The specific recommended warm-up activity will depend on the age of the children, their needs, etc. However, here are some quick ideas for groups of kiddos:

  • Go around your group (create a virtual or visual circle) and ask each child to share one word for how they feel about the past year.

  • Give each child a paper plate, and ask them to fill it with words, colors, feelings, etc. for how they feel about this past year. Or, ask them to quickly draw a favorite memory from this past year.

  • Reflect with the group on the year collaboratively, using a physical or virtual whiteboard! Kids can volunteer answers. Ask, how did 2020 make you feel? what did you do that you didn’t expect? etc.

Then, you can use this main activity as an opportunity to talk with the kids about the approaching new year and setting wishes or goals for what they would like to happen this coming year.

Here Are Instructions for the Crayon Resist Approach:

Pull out one piece of watercolor or mixed media paper, and tell your child or children that you are all going to make wishes upon the stars for the new year.

Tell them to think about what they hope for this new year – what they hope to accomplish, or what they hope to do, to see, to visit, etc. Tell them to think about all the wishes they have for this coming year and then to draw a star for each wish, using crayon!

You can tell them that they can use any color crayon they want, or even a different color for each star. They can draw bigger stars for big wishes and smaller stars for smaller wishes. They can draw a shooting star too!

Once they’ve drawn their stars, they can use their watercolor paints to paint the sky! The sky can be any color or colors they want to use. They can paint over the crayon. You can explain that the wax in the crayon will resist the watercolor paint – this is why it’s called the Crayon Resist Technique.

Here’s an example of one of the drawings from our Human Rights First workshop participants:

2021-Wishes-Activity

Once You’re Done…

You can ask each child to share their painting and tell you about it, if they would like to do so. If they don’t feel quite comfortable sharing or are shy, you can propose they share just one wish or write it out and have you, the facilitator, read it. Or, if they don’t feel comfortable sharing their wishes for the new year, you could ask them about the colors they chose for their sky!

Once the painting is dry, you can hang or frame it. Tell each child they can keep their painting by their side to always remind them of their wishes. They can even change their wishes and wish upon their stars each night.

This activity also opens a doorway for you to reflect with your child or children on wishes and have a conversation about positive thinking, hopefulness and patience. For instance, our wishes might not always come true right when we want them to, but we can put them out in the universe, stay positive, and be patient. Sometimes wishes come true years and years later!

Try this with your kids at home and those that you support through volunteering or your work endeavors. Comment below to let us know how it goes. You can also post and tag us in your kid’s drawings @GiveKidsArt – we love to see their creations!

Fun Ornament Creativity And Gifts for Just $7

So this year, I attempted to test the famous Salt Dough Ornaments that are known to be extremely cost effective and fun to make with kiddos of all ages — and for adults! All you need is All-Purpose Flour, Salt, and Water to make the dough for the ornaments. This is the recipe that we followed: View Recipe.

We made nearly 40 unique ornaments with this recipe! Here is a set of five ornaments we created as a gift:

Salt Dough Ornaments

After all our hard work, here is everything to know before you make your Salt Dough Ornaments! P.s. It’s a fun affordable alternative to air-dry clay too, so it doesn’t just need to be for the holidays.

1) You can get everything you need at the Dollar Tree! I made sure each item was there. Since I had or found some items around the house, the following bolded items were purchased to make this set of ornaments:

  • All-Purpose Flour - $1

  • Salt - $1

  • Cookie Cutters - $1 per set (this product is occasionally found at Dollar Tree)

    • Note: You don’t need cookie cutters; you can also hand cut designs using a sharp utensil or shapes found around the house, like using a bowl for a circle. Cookie cutters are easy and helpful for working with children.

  • Rolling Pin - $1

  • Cookie Sheet - $1

  • Parchment Paper - $1

  • Sand Paper Set - $1

    • Note: check the auto section at Dollar Tree

  • Wood Cutting Tool Set - $1

    • For use by adults or older children only. You can find this in the craft section; one of the tools in the set of four is like a less sharp exacto knife and can help with cutting custom ornament shapes.

  • Mod Podge Matte (2 fl oz) - $1

  • Decorating Supplies - $1 each

    • Craft Paint Set or Watercolor Paint Set

    • Liquid Glitter Marker - Loved using this pen; it dries very quickly!

    • Glitter Set or Faux Snow - Use the glitter with Mod Podge

    • Sharpie Pen

    • Glue Gun & Gold Glitter glue inserts - $2 Total

  • Twine or String - $1

    • Note: check the craft section at Dollar Tree

  • Plastic Table Cloth for a Tarp - $1

    • Grab a white table cloth so kids can paint and decorate freely

2) It takes longer than you think with cook time, dry time, etc. so allocate one day to make the ornaments and at least one day to sand and decorate them.

3) After you bake your ornaments, you can sand them using Sand Paper to smooth the edges!

4) If you want to paint all the ornaments white to have a base coat, I recommend using spray paint… otherwise, it will take several hours and layers of white paint to get a good base. I tested using Acrylic paint and didn’t like the aesthetic or texture of it on the dough. I preferred using craft paint or watercolors, depending on the look I wanted.

5) If you have pets (especially dogs), they love to eat these ornaments - DO NOT LET YOUR DOG get a salt-dough ornament. The salt content can be lethal. Not to mention if they eat an ornament that has been decorated with paint, glitter, glue, etc., you may need to call poison control.

Salt Dough Ornament Creation & Baking Tips

While following the recipe provided, I noticed that the longer the dough sat out in between bake times (as I didn’t have enough cookie sheets to bake all ornaments at once), the more the ornament had a cracked look or finish to it after baking. The newer and fresher dough produced an ornament that was more smooth in appearance. Depending on the look you want for your ornaments, you may want to leave the dough out longer for a more cracked, ceramic, or worn look.

Make sure you keep the dough even as your roll it out using your rolling pin. The more even the dough, the less likely it will bubble and possibly crack when baking. Thinner rolled out dough works better (about 1/8”).

Make sure the edges of your dough ornament are cleaned up before you bake them – it will save you time on sanding later.

I used a wood cutting tool that I found at Dollar Tree (similar to an exacto knife, but not as sharp) to cut custom shaped items, like the leaves and rainbow (shown below). For the circular pendant ornaments, I used a tiny shot glass to stamp out the circle shape. The stars were created using a cookie cutter. You can use whatever you find around the house to make designs in your ornaments – I used a plastic fork and knife to make some designs and a wood skewer stick to make the holes in the ornaments. Many people use plastic straws to make the hole for the string. Make the hole a little larger than you would want it as it will likely get smaller when the dough bakes.

Add two holes to your ornaments if you want to hang them together – then you can thread them in a row and they’ll hang facing forward! Here’s a good example. One hole works nicely if you’re making individual ornaments.

Custom Leaf Ornament
Ornaments

Salt Dough Ornament Decorating Tips

Natural Ornaments:

If you would like to keep the organic, natural look of the dough ornaments - they kind of look like ceramics after being baked! - then just apply one layer of Mod Podge to your ornaments, one side at a time. Make sure you don’t let the Mod Podge cover the hole. Also, the Mod Podge will be white when you apply it, but dries clear. You can use the Mod Podge to cover any cracks on the side or edges or your ornaments too.

Glitter Ornaments:

If you plan to only decorate using glitter, apply a layer of Mod Podge, then sprinkle or dip in glitter. You will need to do a few layers. Don’t cake on too much Mod Podge, as it can dry white if applied too thick. The best result will be by doing layers of glue with glitter which will require waiting in between.

Painted Ornaments:

If you would like to paint your ornaments, you can either paint them before OR after you apply Mod Podge. If you use craft paint, tempura paint, or watercolor paint before you Mod Podge, you will likely need to apply a few layers of paint to the dough and allow for drying time in between. I’ll cover both approaches blow and here is an image comparison:

Rainbow = Mod Podge First, Paint Second (few layers); Star = Paint First (few layers), Mod Podge Second

Rainbow = Mod Podge First, Paint Second (few layers); Star = Paint First (few layers), Mod Podge Second

Mod Podge First, Paint Second Approach:

For a nice ceramic look, here’s the process used for my Evil Eye ornament gift. After sanding, I first applied Mod Podge to the ornament, then used a Black Sharpie to color in the initial design. I then applied a thin layer of blue watercolor over the eye. Then, I applied Mod Podge again to the front. The Sharpie lost its initial shinny, metallic look after the Mod Podge was applied. Then I used the Liquid Gold Marker (pictured above) to decorate the sides and the back of the ornament.

Paint First, Mod Podge Second Approach:

I also decorated some ornaments by applying watercolor right after sanding. The dough absorbs the watercolor more fully this way and the color will be more saturated. Depending on the color of watercolor paint you use, you may need a few layers to get the vibrancy you want. Let each layer dry in between. If you try to coat it again too soon, you risk the water on your paintbrush pulling up the previous layer of paint. In the ornaments pictured below, I applied watercolor first (in layers) then Mod Podge, then added the gold accents using the liquid marker. Be careful when you apply Mod Podge over the watercolor as it may lift the paint slightly.

Other Salt Dough Ornament Ideas to Try!

There are so many great resources for Salt Dough Ornament inspiration. Here's one article full of 11 fun ornaments that kids can make. I’m excited to try the Holiday Spice Garland and Melted Bead Suncatcher Ornaments.

For a fun magical experience, leave your ornaments around your local community as a surprise for someone this holiday.

Awesome Art Activities to Enjoy this Autumn

As of September 8, Give Kids Art started its virtual summer programming in proud partnership with the Boys & Girls Clubs of Santa Monica. We are happy to announce that The Boys & Girls Club in Mar Vista Gardens has again safely reopened its doors to participants, while outside partners and volunteers are remote. We are running our art programs on Zoom with the kids from all B&GC Santa Monica branches every Tuesday for the next ten weeks. The children who have signed up for our program are joining us by tuning in from the local branch art room or directly from home. It’s wonderful to see old and new faces from various locations come together for more fun and creativity.

Thanks to your donations, Give Kids Art continues to make and provide the kids with Art Kits filled with a variety of materials, so they can continue creating fearlessly from home as well as with us on Zoom. The Art Kits that we deliver are distributed at the Grab & Go Meal center and are given to children, whether they participate in our programs or not. The latest round of custom Art Kits contain: watercolor paper, crayons, colored pencils, colored markers, watercolor paints, an extra paint brush, a canvas panel, one pair of scissors, one Elmer’s glue stick, and one No. 2 pencil.

If you or your little ones have paper (or old cardboard to draw on) and some crayons, pencils, or markers at home, you can participate in the fun, too. We will share our weekly Zoom art projects so you can join us! We’ll be adding new projects every week. If you have any questions, comment below.


Week 1, Zoom Art Project:

All the Parts of Me Drawing


Week 2, Zoom Art Project:

Give A Helping Hand Drawing

 
You have two hands: one for helping yourself, the other for helping others.
— Sam Levenson
 

Week 3, Zoom Art Project:

Magical Fall Leaves Painting


Week 4, Zoom Art Project:

Your Superhero Self Drawing


Week 5, Zoom Art Project:

My Monster Buddy Drawing


Week 6, Zoom Art Project:

My Favorite Treats Watercolor


Week 7, Zoom Art Project:

Meet My Pumpkin Drawing


Week 8, Zoom Art Project:

Growing Gratitude Tree Creation


STAY TUNED FOR OUR WINTER SESSION!

Summer Fun Art Activities for All Ages

As of July 6, Give Kids Art started its virtual summer programming in proud partnership with the Boys & Girls Clubs of Santa Monica. We are happy to announce that The Boys & Girls Club in Mar Vista Gardens has safely reopened its doors to participants although outside partners and volunteers are still remote. We are running our art programs on Zoom with the kids at the Mar Vista Gardens branch every Tuesday and Wednesday for the next six weeks. The children who have signed up for our program are joining us by tuning in from the local branch art room. It’s wonderful to see old and new faces and to come together for more fun and creativity.

The critically short supply of art materials for children in this community remains a real need. Thanks to your donations, Give Kids Art is committed to making and providing the kids with Art Kits filled with a variety of materials, so they can continue creating fearlessly from home as well as with us on Zoom. The Art Kits that we deliver are distributed at the Grab & Go Meal center and are given to children, whether they participate in our programs or not. The latest round of custom Art Kits contain: watercolor paper, crayons, colored pencils, watercolor paints, an extra paint brush, a canvas panel, one pair of scissors, one No. 2 pencil.

If you or your little ones have paper (or old cardboard to draw on) and some crayons, pencils, or markers at home, you can participate in the fun, too. We will share our weekly Zoom art projects so you can join us! We’ll be adding new projects every week. If you have any questions, comment below.


Week 1, Zoom Art Project:

Who I Am Name Drawing


Week 2, Zoom Art Project:

Imperfectly Perfect Tie Dye Paper Paintings


SUMMER Update:

We will temporarily postpone the remainder of our Summer Zoom Sessions as The Boys & Girls Club in Mar Vista Gardens had to close their doors on July 17, 2020 due to COVID-19, and many of the children do not have access to technology at home until the school year starts next month.

We will continue to post our Summer Art Activities weekly for anyone who wants to participate! Thanks to our supporters, our recent delivery of Art Kits to the children will keep them creating fearlessly from home for weeks until our Fall programming starts.


Week 3, Zoom Art Project:

Creative Collage of Courage

 
Creativity takes courage.
— Henri Matisse
 

Week 4, Zoom Art Project:

Friend My Monster Drawing


Week 5, Zoom Art Project:

Colorfully Diverse Creation


Week 6, Zoom Art Project:

My Most Beautiful Sky Painting


STAY TUNED FOR OUR FALL PROJECTS!

Our Fall 2020 programming will start late August. We’ll keep adding to our blog every week, so you can follow along with us!

"Cozy-up" Creative Art Activities with Your Littles

In proud partnership with the Boys and Girls Clubs of Santa Monica, Give Kids Art was invited to participate in virtual Zoom programming. As of April 14, we are running our art programs on Zoom with the kids at the Mar Vista Gardens branch every Tuesday. Our first week was a blast, and we loved reuniting with the kids and seeing all of their smiling faces!

Since art supplies are very limited for children in this community, we made and provided the kids with art kits filled with a variety of materials, so they could continue creating fearlessly from home as well as with us on Zoom. Our custom art kits contain: watercolor paper, crayons, colored pencils, watercolor paints, and paint brushes.

If you or your little ones have paper (or old cardboard to draw on) and some crayons, pencils, or markers at home, you can participate in the fun, too. We thought we’d share our weekly Zoom art projects so you can join us! We’ll be adding new projects every week.

If you have any questions, comment below!


Week 1, Zoom Art Project:

Rainbows Filled with Love

 
Try to be a rainbow in someone’s cloud.
— Maya Angelou
 

Week 2, Zoom Art Project:

Connect-the-Dots Adventure Painting

 
You’re off to Great Places! Today is your day! Your mountain is waiting, So... get on your way!
— Dr. Seuss, Oh, the Places You'll Go!
 

Week 3, Zoom Art Project:

Grateful for You Card

 
Feeling gratitude and not expressing it is like wrapping a present and not giving it.
— William Arthur Ward
 

Week 4, Zoom Art Project:

How You WilL Change the World Drawing

 
Somewhere inside all of us is the power to change the world.
— Roald Dahl
 

Week 5, Zoom Art Project:

Sunburst Painting


Week 6, Zoom Art Project:

My Day at the Beach Painting


Week 7, Zoom Art Project:

My Healing Heart Painting

 
Darkness cannot drive out darkness; only light can do that. Hate cannot drive out hate; only love can do that.
— Martin Luther King, Jr.
 

Week 8, Zoom Art Project:

Unique Butterflies


Week 9, Zoom Art Project:

Summer Fun Painting


Week 10, Zoom Art Project:

Picasso Portrait


Week 11, Zoom Art Project:

Fireworks for Days Drawing


Stay Tuned for Our Summer Projects!

Our summer programming starts the week of July 6, 2020.

We’ll keep adding to our blog every week, so you can follow along with us!