Shoutout LA Interview: Kara Anton Unveils the Heart of Give Kids Art

In this illuminating interview with Shoutout LA, our Founder and President, Kara Anton, unveils the profound mission driving our organization, offering insights into the inspirations that fuel her dedication. Join us as we explore the heart and soul behind Give Kids Art.

I’ve seen firsthand how art empowers children to communicate, to heal, to grow, to be bold, and to dream beyond their immediate circumstances. Art is a universal language that transcends age, background, and socio-economic status, offering a sanctuary of self-discovery and expression.
— Kara Anton, Founder & President of Give Kids Art
 

Bringing the Joy of Art to Summer Camps

Thanks To Two Successful Partnerships

This summer, Give Kids Art has been incredibly fortunate to continue its partnerships with two amazing organizations in Southern California. Working closely with the Boys & Girls Clubs of Santa Monica and the City of Inglewood, our organization was able to bring our enriching art programming and art supplies to 160 children cumulatively who participated in their summer camp programs across multiple locations.

Give Kids Art has had the pleasure of collaborating with these two organizations before. However, this summer was particularly special as we introduced our comprehensive training program to both of their dedicated staff. These talented teams skillfully facilitated our 8-week Give Kids Art curriculum, allowing us to reach more children and spread our art activities.

At Give Kids Art, we have always prioritized fostering social-emotional development through the arts. Our process-based activities and prompts provide a platform for these young artists to express themselves and tap into their inner creativity. We are proud to see the positive impact art has on the children, as they explore their artistic abilities and develop essential life skills.

Take a look at more photos from these summer programs and learn more here and here.

To support our partners, Give Kids Art provides comprehensive support, including training for staff or volunteers, training documents, a curated curriculum tailored to different age groups, detailed instructions for each activity, and a set of slides for visual aids. Moreover, we ensure that all necessary art supplies are sourced and delivered promptly to the partner organizations, ensuring a seamless and enriching Give Kids Art experience for all participants.

Our campers have enjoyed each moment that they were able to spend completing your planned activities as they learned new things or found a liking to something they were previously not interested in. We would not have been able to provide an amazing summer program without your continued support of our campers!
— Tyler, City of Inglewood Recreation Leader & Summer Program Coordinator

As we reflect on this summer's partnerships, Give Kids Art is grateful for the opportunity to bring the joy of art to children in the Boys & Girls Clubs of Santa Monica and the City of Inglewood. We look forward to continuing our collaboration with these incredible organizations and expanding our reach to more communities in the future.

To learn more about Give Kids Art and inquire about partnering with us for any season, please visit our partner page or contact us directly. If you’re a curious parent and want to bring Give Kids Art programming to your local community, please share our information and offerings with nonprofits in your area, such as your local Boys & Girls Club.

Together, let's inspire and empower young artists through the transformative power of art!

"My Unique Butterfly" Foil Printmaking Art Activity

We delight in the beauty of the butterfly, but rarely admit the changes it has gone through to achieve that beauty.
— Maya Angelou

We adjusted one of our favorite springtime art activities to incorporate an easy, fun art technique for kids to explore – aluminum foil marker printmaking! This process can also be used to introduce conversations on metamorphosis, change, and what we can and cannot control. The aluminum foil marker printing technique also helps us immediately practice and embrace this process of change!

At minimum, you will need a piece of paper, pencil, permanent marker (Sharpie recommended), washable colored markers, a sheet of aluminum foil, and a spray bottle! Ideally, the spray bottle needs to be able to mist water. You can recycle old cleaning supply spray bottles that have been thoroughly cleaned and rinsed. We have also found that travel-sized spray bottles, which can be purchased at CVS or Dollar Tree, work well.

If you’re trying this with a group, allocate 10-15 minutes for the introductions, warm-up, and art activity discussion. The specific recommended warm-up activity will depend on the age of the children, their needs, etc. as well as how often you’ve engaged with them. However, if it makes sense, you can try a quick feelings check-in with your participants. Ask your artists to take a moment to check-in with themselves: “How are you feeling? If you were a butterfly right now, what colors would you be?” (Hint: they can use the color(s) later in their art!).

  • In-Person Option: Go around your group and ask each participant to share their butterfly color(s) for how they are feeling today. Let them know that they can always “pass” and share later. You could pass a ball, stuffed animal, talking stick, etc. or simply sit in a circle and share clockwise.

  • Zoom Alternative: If not everyone can share their screen or use the microphone, you could have each participant edit their Zoom name to include their first name, color(s).

  • Both: You can also present an image or chart of various colorful butterflies and ask the artists to pick a butterfly (or butterflies) for how they’re feeling, by sharing verbally or pointing to the images.

If you’re trying this activity for yourself, check in with yourself too!

After your initial introductions and warm-up, you can transition into a conversation about butterflies, including some fun facts. For instance, did you know that “no two of the world's more than 12,000 butterfly species look quite alike” (source)? Then, you can move onto their various symbolic meanings. If you’re working with your kids or a class, open up the group for brainstorming and discussion. Ask the participants,“Do butterflies mean or represent anything special to you?” Try writing down all the thoughts on a physical or digital board for all to see. For our group, we brainstormed and shared different meanings and then focused on the process of metamorphosis and change. We walked through the stages of metamorphosis for a butterfly: Eggs > Caterpillar > Chrysalis > Butterfly. With certain groups, after explaining the process, we collectively try a movement activity where the participants mimic the facilitator growing from an egg through the metamorphosis stages and into a big, beautiful butterfly.

We also introduced some inspiring quotes on change, including one by Maya Angelou, to emphasize that while change is constant and scary, it also can lead to unexpectedly beautiful outcomes. So we must embrace the change and the journey because we never know where it will take us. It might turn us into a beautiful butterfly!

Wrap up with the idea that we’re now going to create our own unique, beautiful butterflies and explore change through a fun print-making process using aluminum foil.

Here Are The “My Unique Butterfly” Art Activity Instructions:

Pull out one piece of watercolor or mixed media paper (regular paper is ok too if that’s what you have!), and tell yourself or your participants that you’re going to first draw using pencil. The paper can be oriented vertically or horizontally.

Proceed to follow the initial drawing prompt and activity instructions in the slides below:

As the artists draw their unique butterflies, the facilitator can introduce the terms of symmetry and asymmetry and give the artists the option of drawing their butterfly wings the same or different on both sides.

Once the artists look like they are wrapping up their drawings, the next step is to outline their butterfly with a permanent marker or pen (Sharpie recommended). For young ones, “outlining” can be explained as tracing or drawing over the pencil with the permanent marker.

For older artists, we also give them the option of coloring inside and/or around their butterfly using crayons or oil pastels. By integrating these other drawing materials, you can combine the activity with a discussion on Crayon Resist Technique (see here for details) or Wax Resist Technique.

If artists are insistent on not wanting to draw a butterfly, see if they might be interested in drawing a “robot butterfly” or creating another type of bug.

If an artist finishes the drawing quickly or feels lost in what to do or where to start, take a look at what they’ve done so far and ask them questions! For instance, I see that you really put thought into what your butterfly looks like, and I’m wondering if you would like to try one of the options and decorate the area around your butterfly to show where your butterfly is? Where does your butterfly want to live or like to go?”

Once the artists look like they have finished, take a moment to have all artists look up, so the foil printmaking process can be explained with image examples. It’s recommended that the facilitator demonstrate the foil marker transfer process quickly for them in person too.

For the next step, the artists must use washable markers to decorate their aluminum foil. Encourage the artists to cover an area, larger than the size of their drawing paper, with colored marker. When they are ready for the transfer printing process, the facilitator can decide if they will be the ones to mist the aluminum foil with water or if the artists are capable of trying it themselves. If you allow the artists to try it themselves, let them know first that the closer they spray, the more their colors will mix together to create a tie-dye effect.

Here is an example of one artist showing the foil marker transfer printmaking process:

As each butterfly is revealed, notice the artist’s reaction and ask them, “How do you like your butterfly? Did it turn out how you thought it might look? Would you do or try anything differently?”

For some artists, you may suggest the option of cutting out their butterfly (after the foil marker transfer), and then gluing it onto another piece of construction or printed paper.

If artists finish quickly, they can try creating another piece of art by playing with the foil transfer printmaking process. They can simply wipe their aluminum foil clean and start over!

This art activity has a lot of flexibility, so you can adjust the examples for younger or older children with different skill levels.

You can also adjust this activity to work during another time of year by switching out the subject. For instance, in the fall season, you can follow a similar prompt, substituting butterflies for fall foliage leaves.

Once You’re Done…

As artists wrap up their creations, ask them to take a quiet moment, observe their artwork, and see if they notice or learned anything. You can also take time now to ask, “How do you like your unique butterfly? What did you learn during the foil printing process?”

When everyone is done with the activity, you can invite each participant to share their artwork and tell you about it and what they noticed or learned, if they would like to do so. If they don’t feel quite comfortable sharing or are shy, you can propose they share just a glimpse of their artwork visually. Or if they don’t want to share at all, you can ask them if they can simply share what colors they used to create their butterfly or if they did or did not enjoy the foil printing process, either verbally or in the chat (and you, the facilitator, can read it).

Once the artwork is dry, you can hang or frame it to remind you of the beautiful process of change! If you’re working with a group of participants, you can ask everyone to hold up their artwork, even if it’s not complete, so that you can share all of your unique butterflies. It’s fun to take a moment and observe all the different colors, shapes, and designs used too. You can also have participants send photos of their artwork or upload it externally to create a digital collaborative piece.

Try this activity for yourself, with your kids at home, or those children that you support through volunteering or your work endeavors. Comment below to let us know how it goes. You can also post and tag us in your drawings @GiveKidsArt – we love to see their creations!


Need art supplies for your home, classroom, or organization?

We love using Color Swell art materials in our Art Kits and for our art programs, and we used their washable marker sets for this art activity! We have tried most of their art materials and love them all. They are great quality, while also being affordable and they offer bulk quantities. Plus, it’s a better deal to purchase on their website.

Use the code below to get 10% off your order and they will donate an additional 5% to Give Kids Art!

Buy art, give art!


Create Your Giving Heart! Art Activity

Great things are done by a series of small things brought together.
— Vincent Van Gogh

We developed a new art activity inspired by #GivingTuesday, for one of our Zoom art program sessions that we held on the same day, and we’re excited to share it with you. It’s a thoughtful, introspective activity, that works at any time of year and especially resonates during the holiday season.

You can also facilitate or try this activity using any type of art supplies – crayons, colored pencils, markers, oil pastels, watercolor paints, acrylic paints, etc. – and you can even combine it with other techniques, such as the Crayon Resist Technique (see here for details) or Wax Resist Technique. At minimum, you will need a piece of paper, pencil and/or pen (Sharpie recommended), and your preferred art medium to add color!

If you’re trying this with a group, allocate 10-15 minutes for the introductions, warm-up, and art activity discussion. The specific recommended warm-up activity will depend on the age of the children, their needs, etc. as well as how often you’ve engaged with them. However, if it makes sense, you can try a quick feelings check-in with your participants. Ask your artists to take a moment to check-in with themselves: “How are you feeling? If you could pick a color for this feeling, what would it be?” (Hint: they’ll use this color in their art!).

  • In-Person Option: Go around your group and ask each participant to share their color for how they are feeling today. Let them know that they can always pass and share later.

  • Zoom Alternative: If not everyone can share their screen or use the microphone, you could have each participant edit their Zoom name to include their first name, color.

  • Both: You can also ask the artists to pick up a color for how they’re feeling (i.e. color of marker) and on the count of three, you all hold them up together.

If you’re trying this activity for yourself, check in with yourself too!

After your initial introductions and warm-up, you can briefly discuss or contemplate the concept of generosity and how we can give to others. If you’re working with your kids or a class, open up the group for brainstorming and discussion. For our group, we defined generosity as “giving good things to others freely” which gives us the power to make a positive change in the lives of others. Ask participants to share different ways we can give to others, including things like our time, talents, kindness, etc. Try writing down all the thoughts on a physical or digital board for all to see. Afterwards, ask them if they can think of a time when someone showed them generosity or they showed it to someone else. This a good sharing and growth opportunity!

Wrap up with the idea that we’re now going to explore our own giving hearts.

Here Are The “Giving Heart” Art Activity Instructions:

Pull out one piece of watercolor or mixed media paper (regular paper is ok too if that’s what you have!), and tell yourself or your participants that you’re going to draw one large heart on the piece of paper, oriented vertically or horizontally. To draw this heart, we’re first going to pick a color for how we’re feeling (remember, we already did this in the warm-up!). For our activity, we chose to use oil pastels for this first part. We also used this as an opportunity to go over a couple ways to draw a heart and opened it up to the artists to share any other ways they draw hearts.

Proceed to follow the instructions in these slides:

For our group of artists, since we had been engaged together weekly for a while at this point, we chose to add to this activity by introducing the technique of Pointillism, or as we describe it, “art using lots of dots.” In general, artists can try creating with pointillism using any material, as long as they can make a dot! We chose to do the activity with watercolor paints, so the artists could use their fingertips, q-tips, the eraser on a pencil, or whatever else that creatively could form a dot on the page. Most artists chose to use their fingers and try coloring in their hearts with dots for the first part.

Participants can test their use of dots and how overlapping colors of dots can trick the mind to blend the overlapping spots into a fuller range of tones.

As shown on the slide, for the second part, the artists were encouraged to explore line, shape, and color to show how their hearts feel when giving gifts.

Here is an example of one of the drawings from our activity:

This activity has a lot of flexibility, so you can adjust the examples for younger or older children with different skill levels.

Once You’re Done…

As artists wrap up their creations, ask them to take a quiet moment, observe their artwork, and see if they notice anything. Ask, “Are the colors you used on the outside of your heart similar or different than the colors you used on the inside?”

When everyone is done with the activity, you can invite each participant to share their artwork and tell you about it and what they noticed, if they would like to do so. If they don’t feel quite comfortable sharing or are shy, you can propose they share just a glimpse of their artwork visually. Or if they don’t want to share at all, you can ask them if they can simply share if they tried painting with dots and if they liked it, either verbally or in the chat (and you, the facilitator, can read it).

Once the artwork is dry, you can hang or frame it to remind you of your giving heart! If you’re working with a group of participants, you can ask everyone to hold up their artwork, even if it’s not complete, so that you can share all of your giving hearts. It’s fun to take a moment and observe all the different colors, shapes, and approaches used too. You can also have participants send photos of their artwork or upload it externally to create a digital collaborative piece.

Try this activity for yourself, with your kids at home, or those children that you support through volunteering or your work endeavors. Comment below to let us know how it goes. You can also post and tag us in your drawings @GiveKidsArt – we love to see their creations!


Need art supplies for your home, classroom, or organization?

We love using Color Swell art materials in our Art Kits and for our art programs, especially their watercolor paint sets. We originally found them on Amazon and have ordered their crayons, markers, paints, and oil pastels. They are great quality, while also being affordable and they offer bulk quantities. Plus, it’s a better deal to purchase on their website.

Use the code below to get 10% off your order and they will donate an additional 5% to Give Kids Art!

Buy art, give art!


Shop For Arts Sake! Every Purchase Helps to Give Kids Art

Like Cosmetics? NEED A GIFT FOR SOMEONE?

Check out our new partnership through the end of March 2023! #shoptogivekidsart


Shop art-inspired Cosmetics!

Until the end of March 2023, shop products online at ForArtsSakeCosmetics.com and a percentage of every purchase will be donated to Give Kids Art. No code needed.

You can express yourself and your creativity beyond the edges of paper. Explore your wild side, shop some art-inspired makeup, and make a difference for us! Whether you’re into bold bright stand out colors, dreamy pastels or beautiful everyday neutrals, For Arts Sake Cosmetics has a product for you.

Plus, all of their products are made cruelty-free, and with vegan ingredients.

As shown above, here are some we think shout GIVE KIDS ART:

  • 10 Piece Makeup Brush Set (we love yellow! 💛)

  • Color Wheel Eyeshadow Palette

  • Picasso Eyeshadow Palette

  • Van Gogh Mini Eyeshadow Palette

  • Ziggy Eyeshadow Palette

  • Blue Neon Liquid Eyeliner

  • Starry Night Nail Wrap

Our little artists would love all the vibrant color options and glitter eyeshadow singles too! Anything glitter and rainbows is usually a crowd-pleaser ✨🌈

Release your inner artist! Shop your artful picks at For Arts Sake Cosmetics.


SPread the Word!

Not into makeup? Done with your shopping? No problem at all!

Please share this page link with your friends or anyone who may be interested.

Also follow us on Instagram or Facebook, so you can support our social posts, like this one.

Thank you so much for your time and supporting Give Kids Art to help kids create fearlessly!

Note: This news article was updated January 12, 2023, as we extended our partnership beyond December 2022. It’s now running through the end of March 2023!

Imagine A Better World! Art Activity for All

Imagine all the people living life in peace. You may say I’m a dreamer, but I’m not the only one. I hope someday you’ll join us, and the world will be as one.
— John Lennon

We recently had the honor of working with the English department at Pearson Online Academy to offer an Art Workshop, inspired by the poem or song “Imagine” by John Lennon, to their high school students. And now we’re sharing this inspiring activity with all of you, so we can all be dreamers with John and imagine a better world together.

You can facilitate or try this activity using any type of art supplies – crayons, colored pencils, markers, oil pastels, watercolor paints, acrylic paints, etc. – and you can even combine it with other techniques like the Crayon Resist Technique (see here for details). At minimum, you will need a piece of paper, pencil and/or pen (Sharpie recommended), and your preferred art medium to add color!

Allocate 10-15 minutes for a warmup. The specific recommended warm-up activity will depend on the age of the children, their needs, etc. However, here are some quick ideas for groups of participants:

  • Go around your group and ask each child to share their name and one adjective to describe themselves. You can create a virtual or visual circle, ask for volunteers, or use the chat. You could have the participants draw their name and adjective or write it. Zoom Idea: You could have them each participant edit their Zoom name to include their first name, adjective if not everyone can share their screen.

  • Do a quick feelings check-in with the participants. Use an image and have the students volunteer to share their answers or put their answer in the chat. Here’s a Beatles themed feelings check-in image that is a little more “advanced” for older children.

After your initial introductions and warm-up, you can briefly discuss the history of The Beatles and the world at the time John wrote the song (1971).

To warm up to the main art activity, you can review “Imagine” by John Lennon, taking a moment to listen to the full song while reviewing the lyrics. Before you play the song, ask yourself or your participants, “If there was one word to describe what John is imaging in his poem, what do you think it is?” Then play the song. At the end, use this as an opportunity for everyone to share their thoughts on the lyrics and their one word, knowing that there is no right or wrong answer. You can mention that the song has become an international anthem of peace and imagination.

Then, you can briefly introduce famous pop artist, Robert Indiana, as the visual inspiration for today’s art activity. You can show photos of his iconic LOVE pieces and comment on how Robert Indiana thought most people never stopped to think about the beauty of words and numbers.

Wrap up with the idea that imagination is powerful and words are powerful! With John Lennon’s Imagine song, as well as Robert Indiana’s powerful word art, we’re going to all imagine a better word together using words.

Here Are The “Imagine A Better World” Art Activity Instructions:

Pull out one piece of watercolor or mixed media paper (regular paper is ok too if that’s what you have!), and tell yourself or your participants that you’re going to each think of a word that ignites positivity and inspiration for a better world for everyone. Imagine… what if one word could change the world for the better. What would that word be for you? Proceed to follow the instructions in these slides:

This activity has a lot of flexibility, so you can adjust the examples for younger or older children with different skill levels. You can also tailor it to teaching certain art techniques.

For older children, we like to introduce the concept of Zentangle, or drawing pattern designs, and the meditative and therapeutic benefits of this method. In this activity, the participants can create or use patterns that reflect their chosen word.

Here’s an example of one of the drawings from our workshop participants:

Imagine a Better World Art Activity Student Example

If participants finish early or you have more than one hour together, you can ask participants to also write a haiku poem to go with their drawing and chosen word. They can title the haiku with the word used for their artwork! For the haiku, they can think about what this word means to them in their own lives – maybe they have a specific memory that comes to mind.

Once You’re Done…

When everyone is done with the activity, you can invite each participant to share their artwork and tell you about it, if they would like to do so. If they don’t feel quite comfortable sharing or are shy, you can propose they share just a glimpse of their artwork visually or their haiku in the chat. Or if they don’t want to share at all, you can ask them if they can simply share the word they chose, either verbally or in the chat (and you, the facilitator, can read it).

Once the artwork is dry, you can hang or frame it to inspire you and remind you to live your word for a better world! If you’re working with a group of participants, ask everyone to hold up their artwork, even if it’s not complete, so that you can imagine a better world together, with all of our words, and take a photo! It’s fun to see all the different words chosen to ignite positivity in our world. You can also have participants send photos of their artwork or upload it externally to create a digital collaborative piece.

Try this activity for yourself, with your kids at home, or those children that you support through volunteering or your work endeavors. Comment below to let us know how it goes. You can also post and tag us in your drawings @GiveKidsArt – we love to see their creations!


Need art supplies for your home, classroom, or organization?

We love using Color Swell art materials in our Art Kits and for our art programs, especially their watercolor paint sets. We originally found them on Amazon and have ordered their crayons, markers, paints, and oil pastels. They are great quality, while also being affordable and they offer bulk quantities. Plus, it’s a better deal to purchase on their website.

Use this code to get 10% off your order and they’ll donate an additional 5% to Give Kids Art!

Buy art, give art! Shop Now.

Community Support! Free Art Kits Given to Children of the Colorado Wildfires

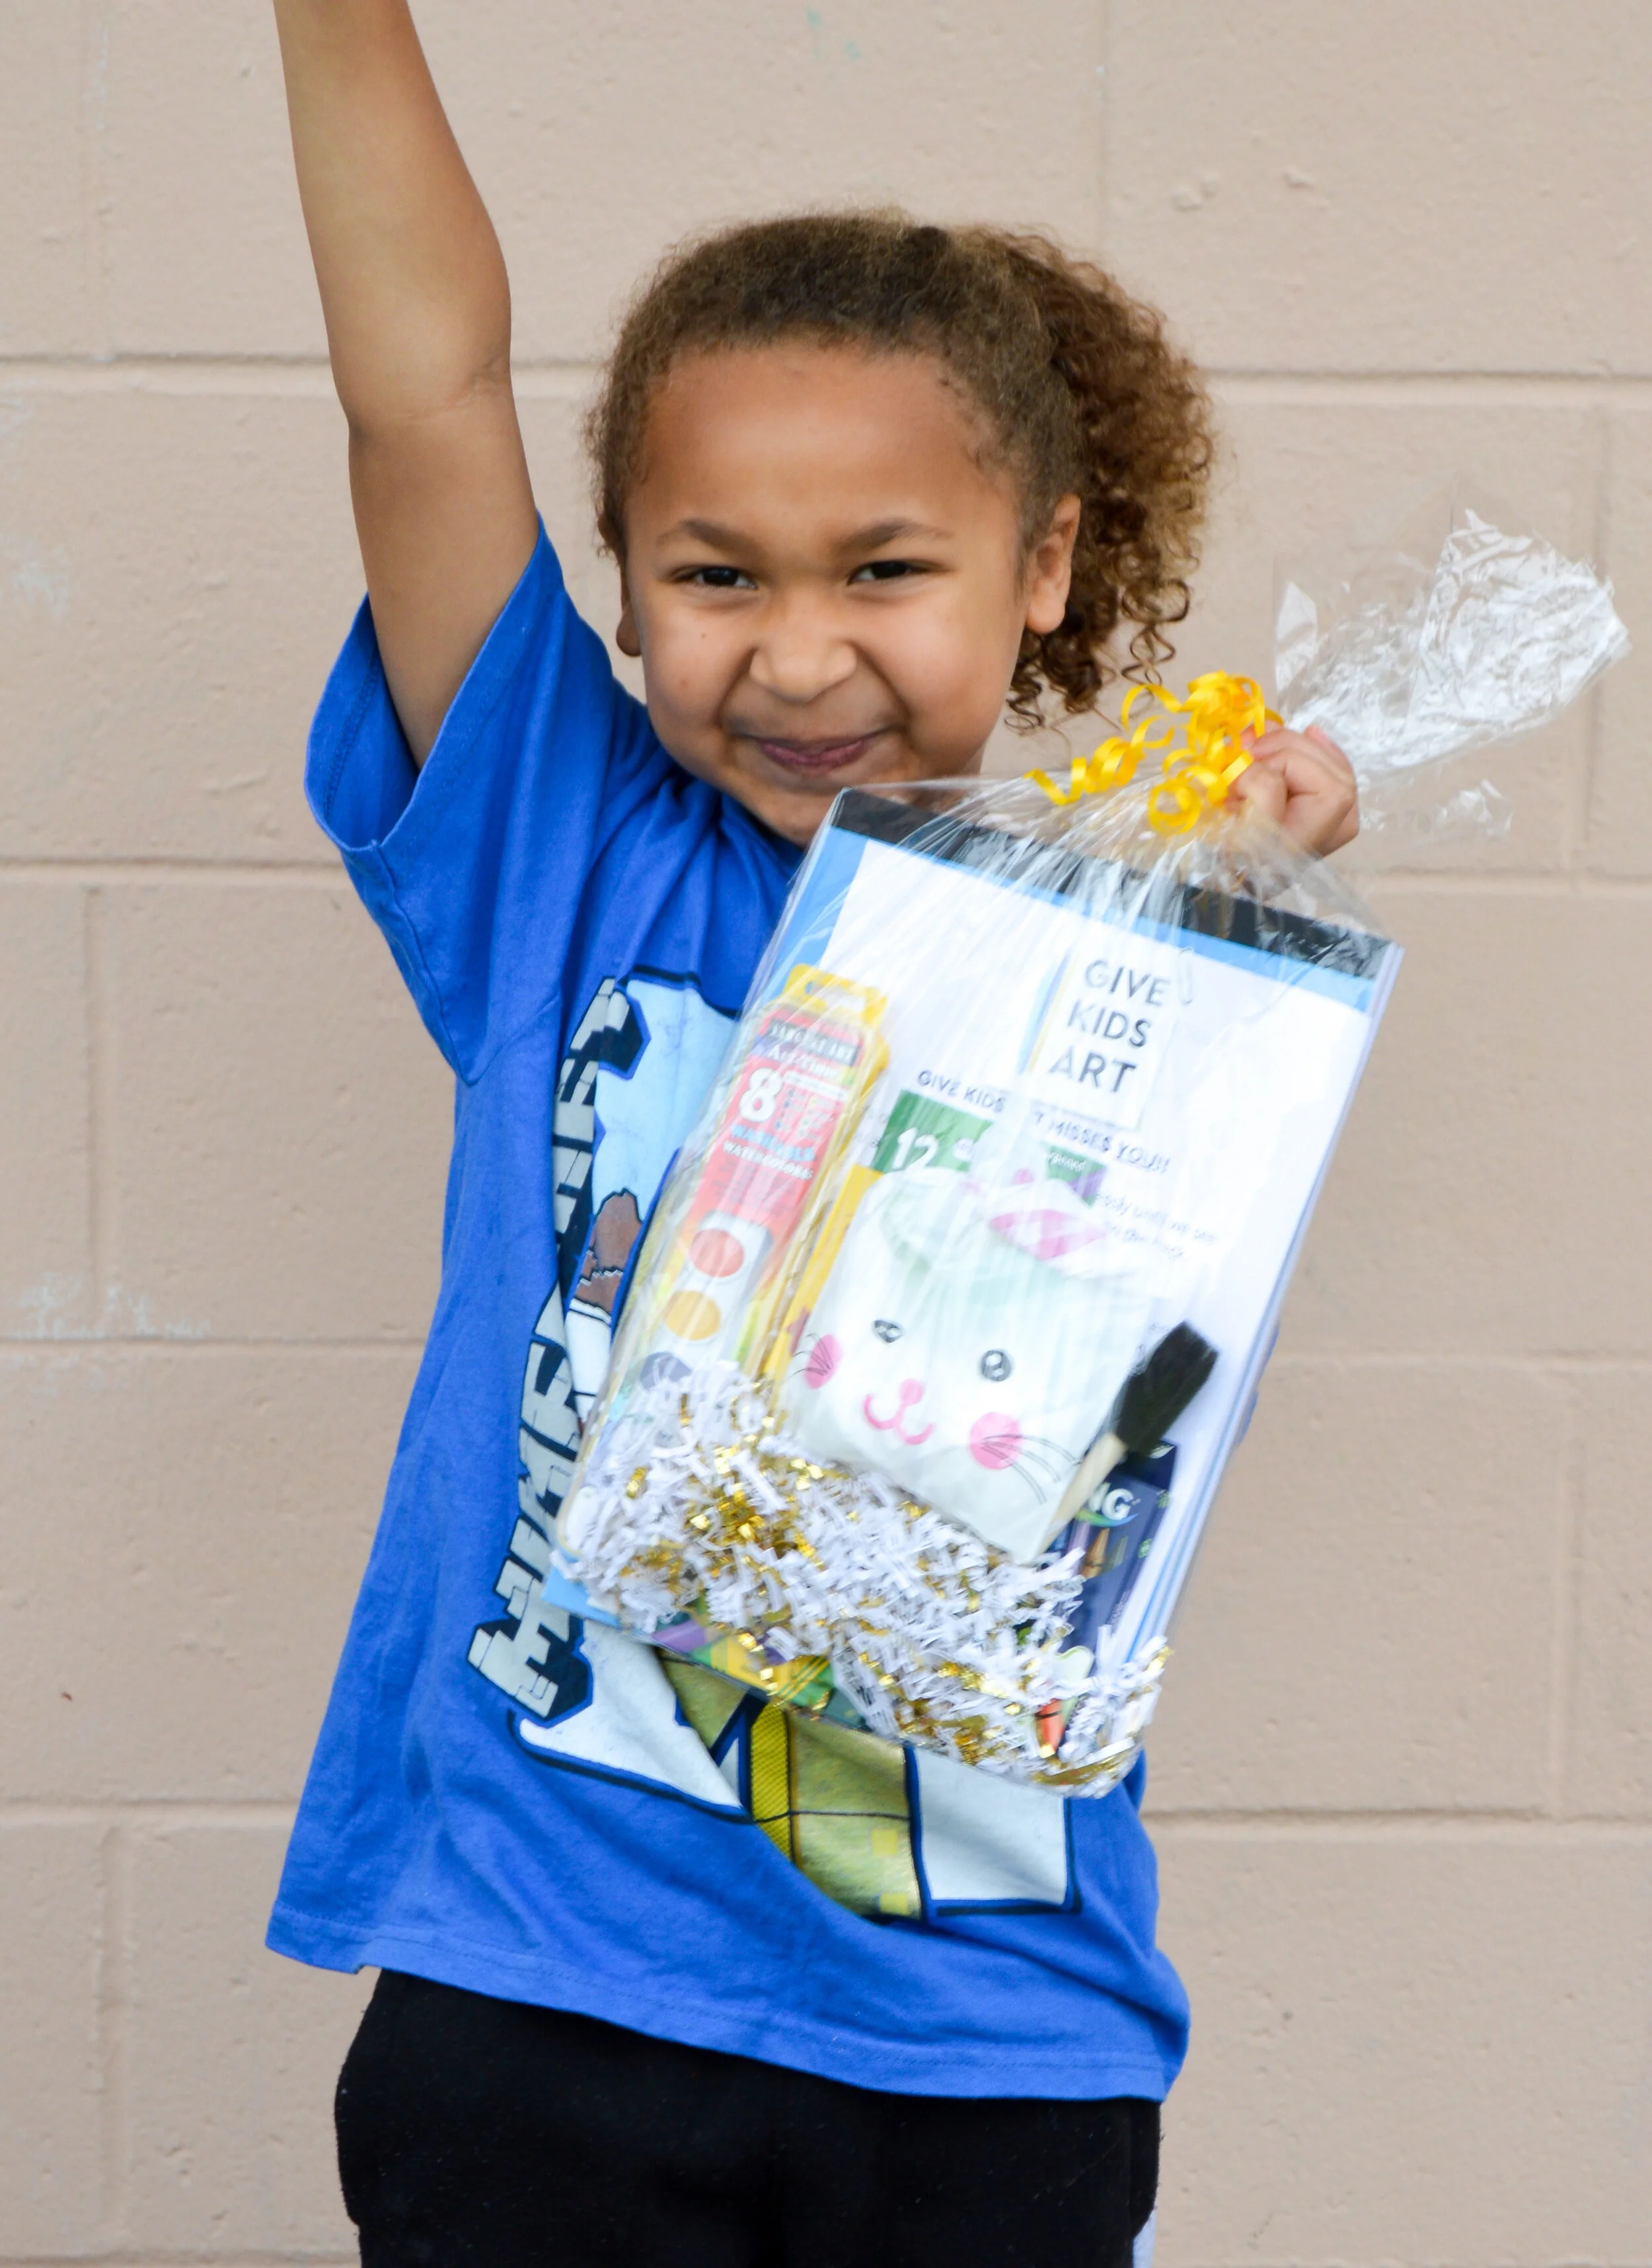
Our friends in Colorado – husband and wife duo, Aaron & Rupal Deitz – recently made and delivered about 50 Art Kits to families and children displaced by the recent Colorado wildfires. The fires destroyed nearly 1,000 homes and forced tens of thousands to evacuate in Boulder County, Colorado. You can more read about the devastation here.

Our volunteer friends knew of families affected by the fires, who lost their homes in Superior and Louisville, CO and wanted to help their community! We sent them all the art supplies and instructions to make the Art Kits. Then, they passed out the Art Kits personally at Superior Elementary School on Saturday, January 15th.

Rupal Deitz, MSN, C-PNP – a local Pediatric Nurse Practitioner at Children's Hospital Colorado, an amazing mother and friend – spearheaded the initiative, organized the distribution spot, and promoted the drop, reaching out to local organizations to help spread the word! With sincere gratitude, we say THANK YOU!

Each Art Kit included:

  • 1 40-Page 9x12 Paper Pad

  • 1 8x10 Canvas Panel

  • 1 Give Kids Art “What’s In Your Heart” Activity Worksheet

  • 1 Kraft Journal

  • 1 Box of Crayons (8ct)

  • 1 Colored Pencil Set (12ct)

  • 1 Color Swell Marker Set (8ct)

  • 1 Color Swell Watercolor Set with Brush

  • 1 Extra Blue Paint Brush

  • 1 Extra Foam Paint Brush

  • 1 No. 2 Pencil

  • 1 Pencil Sharpener

  • 1 Roll of Washi Tape

  • 1 Sharpie Pen

  • 2 Glitter Glue Pens

  • 2 Clay Model Magic Packets

  • 2 Wood Star Shapes to Decorate

  • 1 Small Container of Slime

Interested in working with us to distribute more Art Kits in Colorado? Please contact us here.

Interested in making and distributing Art Kits in your community or as part of a local relief effort? We’d love to chat! Please fill out the form on this page, and we’ll get back to you shortly.

Life’s most persistent and urgent question is, ‘What are you doing for others?’
— Dr. Martin Luther King, Jr.