


Notice your child lighting up when they create? Here are seven simple, practical ways to nurture their creative spark — without the pressure to "improve" the unique voice they were already born with.

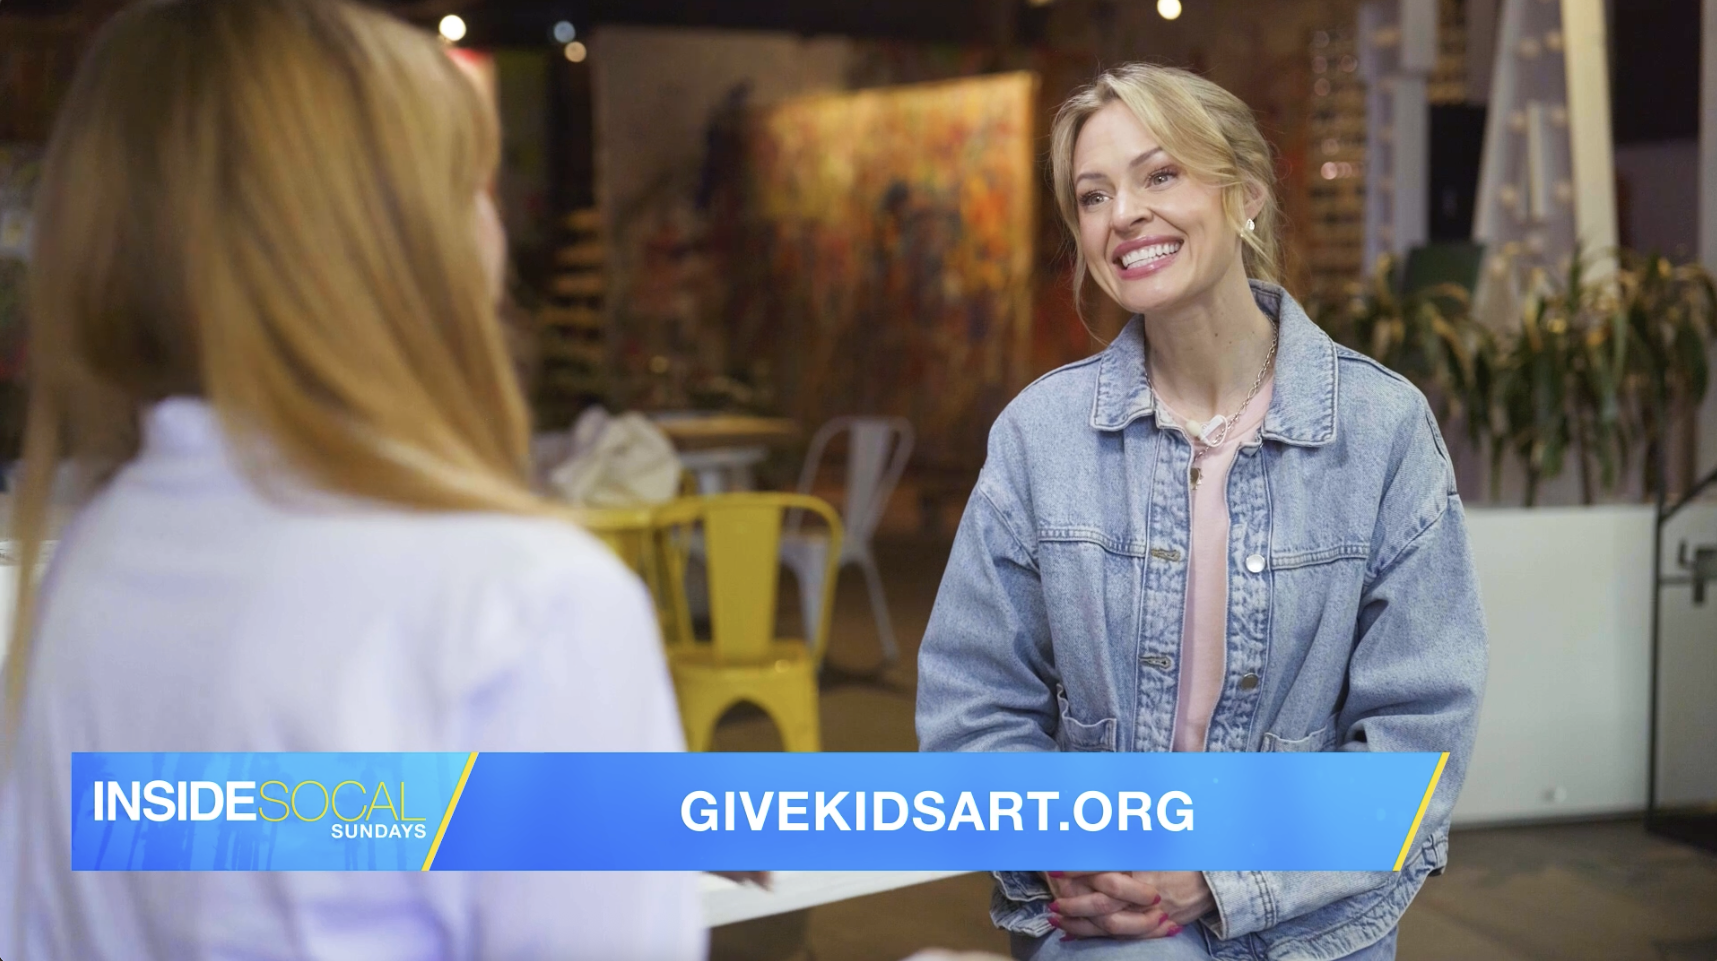
Give Kids Art was recently spotlighted on CBS Los Angeles' Inside SoCal with Erica Olsen, where we had the incredible opportunity to share our story and the impact art has on children in underserved communities.
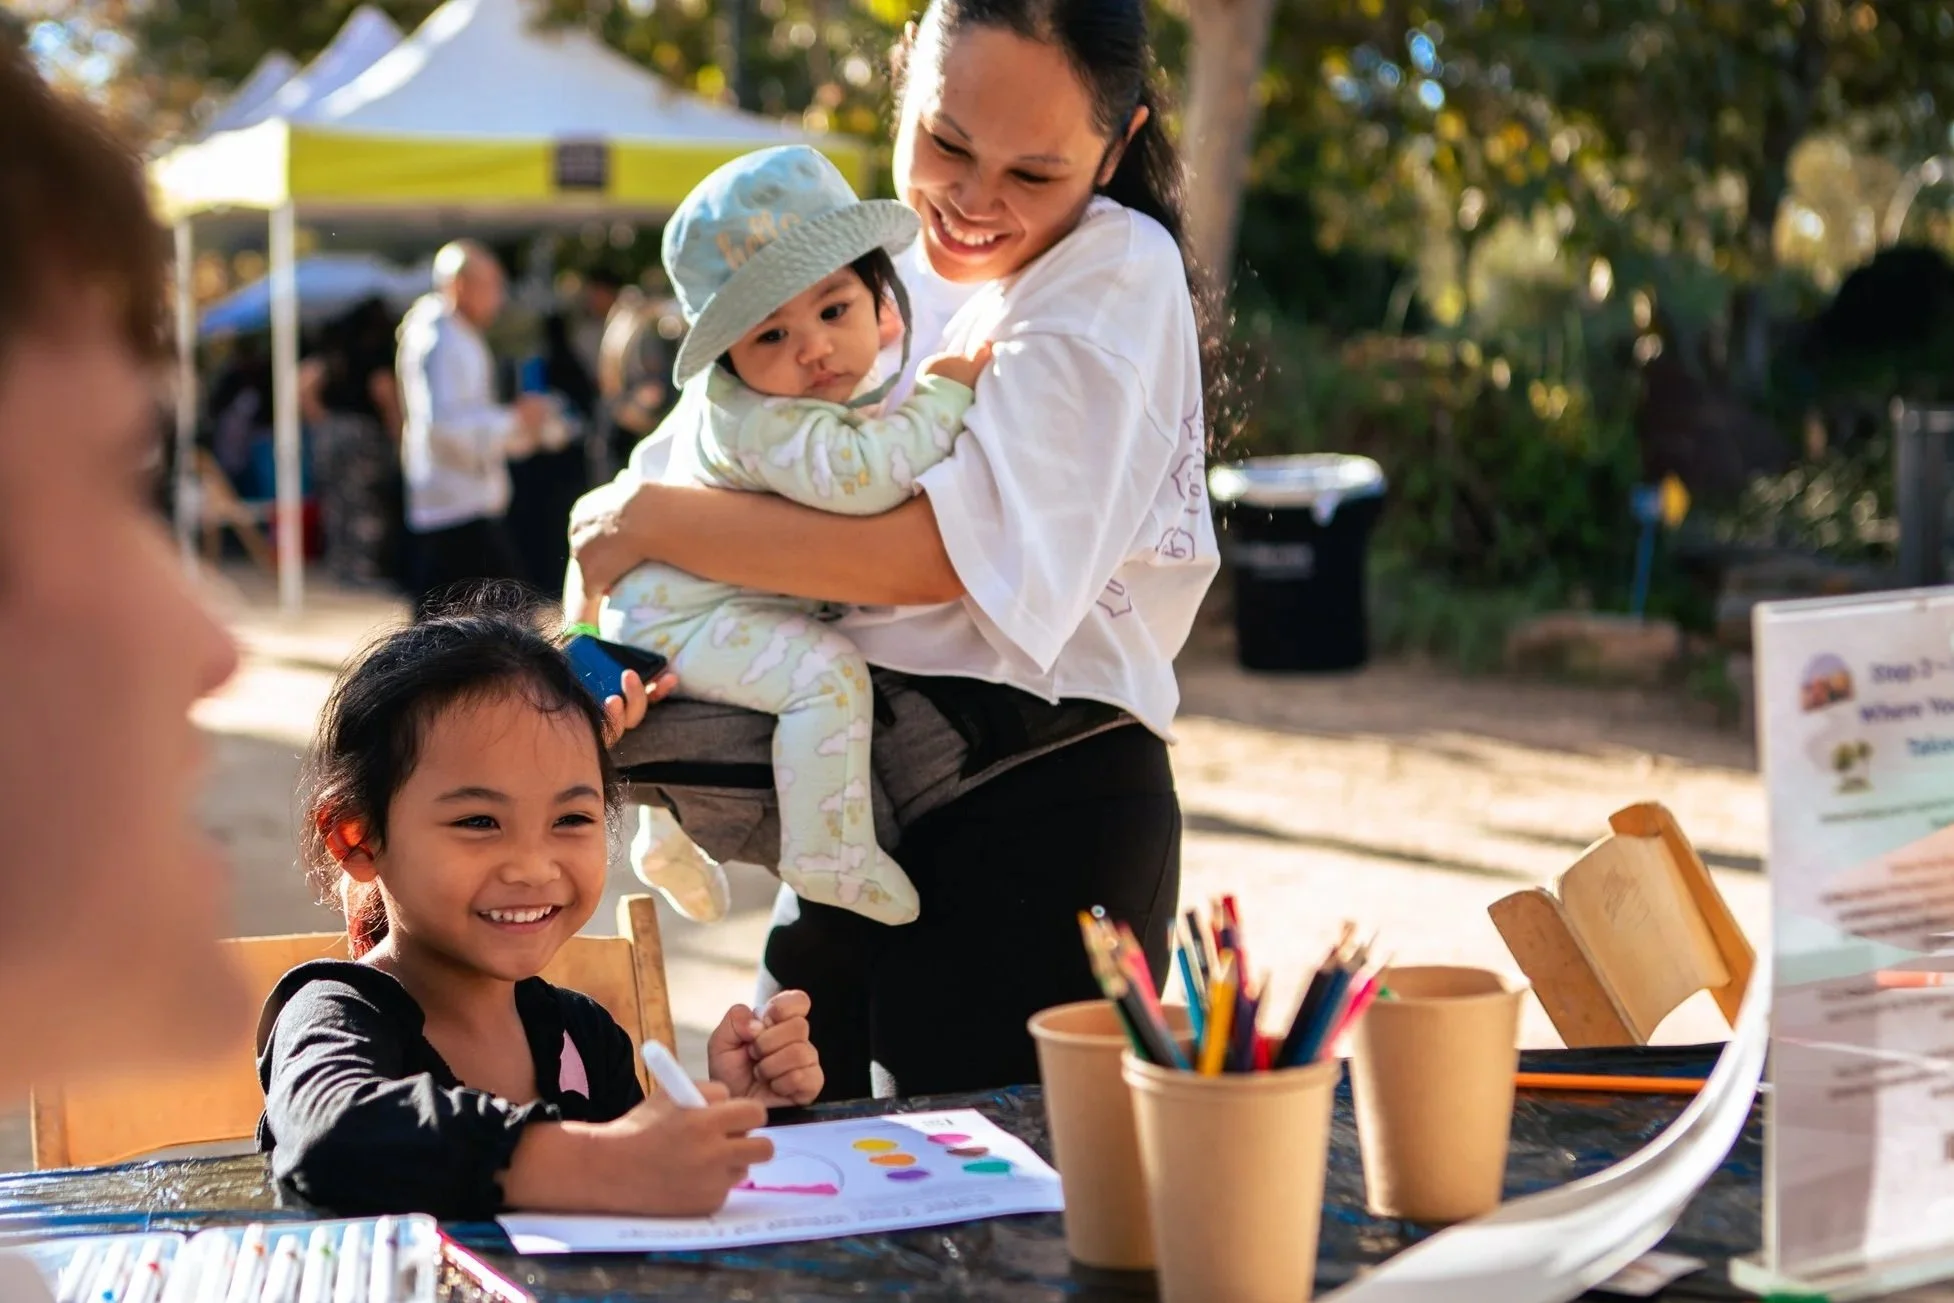
We joined over 60 amazing organizations for a day of connection and creativity with the Natural History Museum. Read about how we shared a little Give Kids Art magic through one of our favorite activities.